Instant Pot Pasta with Meat Sauce | Cooking Through Construction

IMG_9398editedHave you ever come home from work and thought, I’m way to tired to stand over the stove making dinner.  Girl, me too.  It happens all. the. time.  But I just can’t make myself order takeout night after night.  Not only am I trying to lose weight, but we are trying to save money since we’re basically redoing our entire main living area.

I asked Jake what he wanted for dinner on Saturday and he said pasta.  Now, you may be thinking “how are you going to cook pasta if you don’t have a stove, Bethany?”  I’m glad you asked.  By now, you all realize I love my Instant Pot.  And hopefully by now, you’ve taken the plunge and bought yourself one!

You can just throw a bunch of stuff in your instant pot, press cook, and go.  Set it and forget it, right?  Pasta, it turns out, is no exception!  Guys, I may never cook pasta in boiling water again!  It’s seriously that easy and super quick.  Plus the tomato sauce soaks into the pasta so the flavors are incredible!
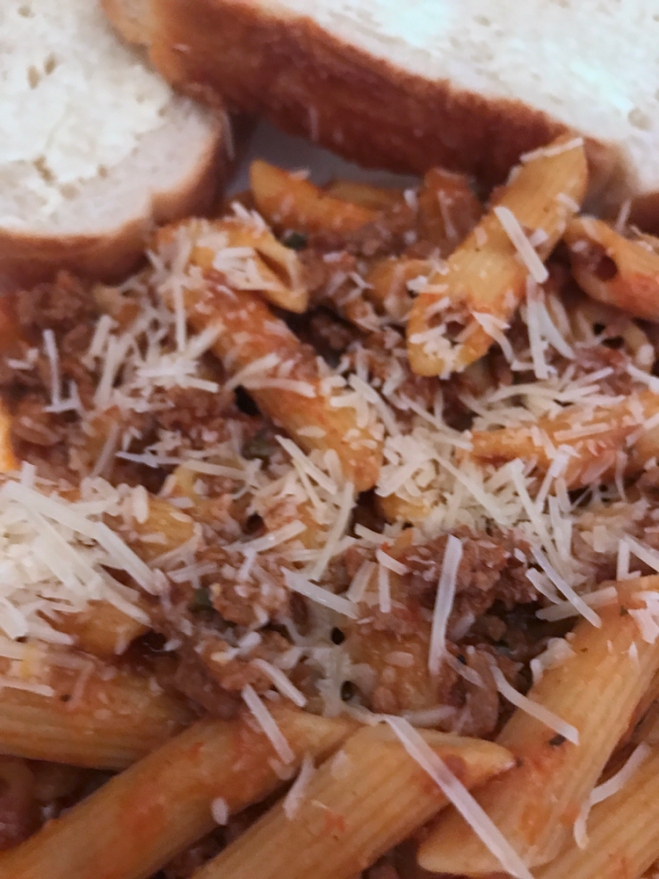
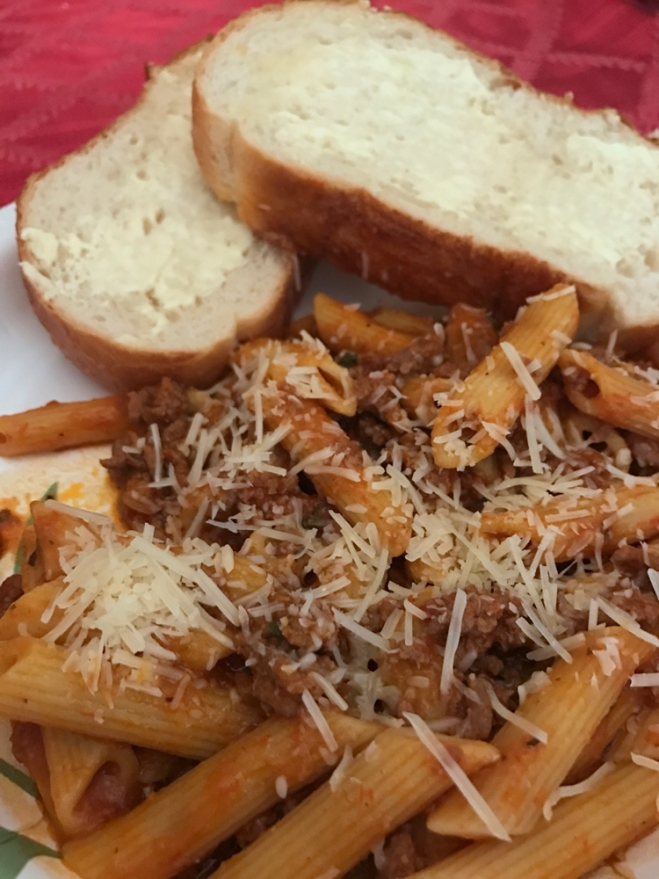
IMG_9400editedInstant Pot Pasta with Meat Sauce
(adapted from this recipe)

1 tbsp olive oil
1 onion, chopped
1.5 pounds ground beef
Salt and pepper
3 cloves garlic, minced
1 box penne pasta, dry
1 jar pasta sauce
Water (fill up the pasta sauce jar ½ way, then shake to get every last bit of sauce)
1 squirt basil (optional)

Turn your IP on to Saute.  Add your olive oil and onion.  au-new-branding-basilLet onion cook for a few minutes before adding your beef.  Cook beef until brown, using a spoon to break up the meat along the way.  Once meat is browned, drain if necessary.  Add beef back to IP.
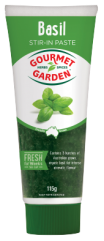
In with the beef, add salt and pepper to taste, garlic, dry penne pasta, pasta sauce, and water.  If you so choose, add in a squirt of basic paste.  What is basil paste?  It’s amazing stuff.  There’s this company called Gourmet Garden that is just awesome!  They make lots of herbs prepped and ready to go, eliminating the prep work.  I hate peeling ginger and GG has it already in a tube!  They also have cilantro, garlic, lemongrass, and Thai seasoning just to name a few.  I get them right in the regular grocery store next to the herbs in the plastic containers.  I’ve never seen the Thai seasoning though…I’m still on the lookout.  “True” cooks will probably sneer at the mention of these types of items but you know what I say to that?  I’m a mom to a relentless, question-asking 5-year-old, who works 50 hours weeks on her feet outside the home.  I’ll take whatever shortcuts I can.

After you get all your ingredients in the pot, mix to combine, then put on your lid, making sure to turn your knob to sealing.  Set the IP to manual for 5 minutes.

Once the IP beeps, release the pressure.  When you take the lid off, you’ll notice it looks like there is a lot of water on the top and you’ll probably think the pasta didn’t cook enough.  Take a deep breath and stir the contents one more time.  Then taste the most delicious, perfectly cooked pasta you’ve ever had!  The water that’s on top mixes in to the rest of the dish and creates a perfectly creamy, saucy dish.  Think of it as the standard cup of “starchy cooking water” Rachael Ray tells you to remove every time you cook pasta.

I’m not kidding…I may literally never boil water for pasta again for the rest of my life.  I can have amazing, delicious, perfectly cooked pasta within 20 minutes of coming home from work AND only dirty one easy to clean pan.  Uhhh…yes please.

While the pasta was cooking, I made salad and toasted some bread.  Because it’s not pasta night without mama making a sandwich!  Have I convinced you to get an Instant Pot yet?  Don’t worry…I have more tricks up my sleeve.  (And, no, I’m not affiliated with IP.  I just sincerely love their product.)
 

Meatballs…Not Just for Italians Anymore | Cooking Through Construction 

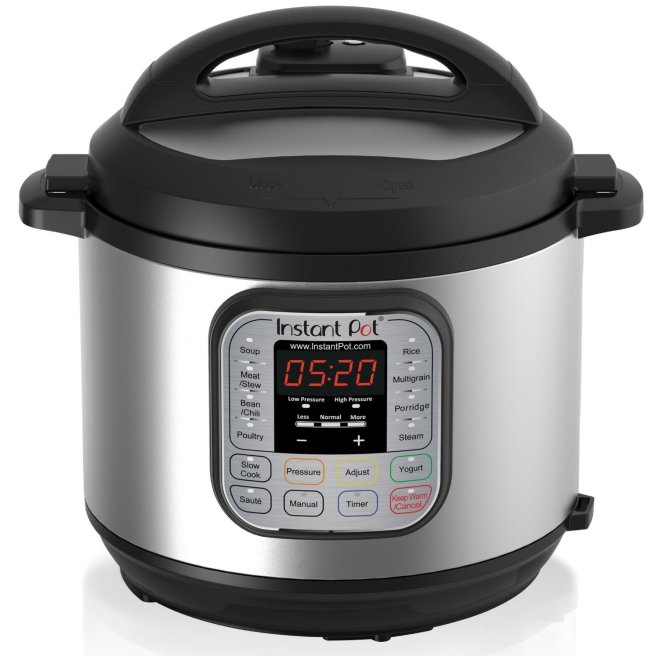
I’ve been doing A LOT of cooking in the basement and, guys, it’s a breeze!  Really!  It’s all about the set up and having the right tools.  Once I set up my long, white table with various cooking utensils, spices, seasonings, and (most importantly) my Keurig, it was simple after that!  Plus, the tool that’s making it all possible…my Instant Pot.

71-ak79nv1L._SL1500_Special PSA about the Instant Pot:  if you’re a busy mom or new to cooking or a retired person or if you like to eat in general, you need an Instant Pot.  Let me repeat.  You NEED an Instant Pot.  You can order it right here.
I’ll wait.

Now that that’s out of the way, I can tell you about the two awesome meatball recipes I’ve made in our Basement Bistro.

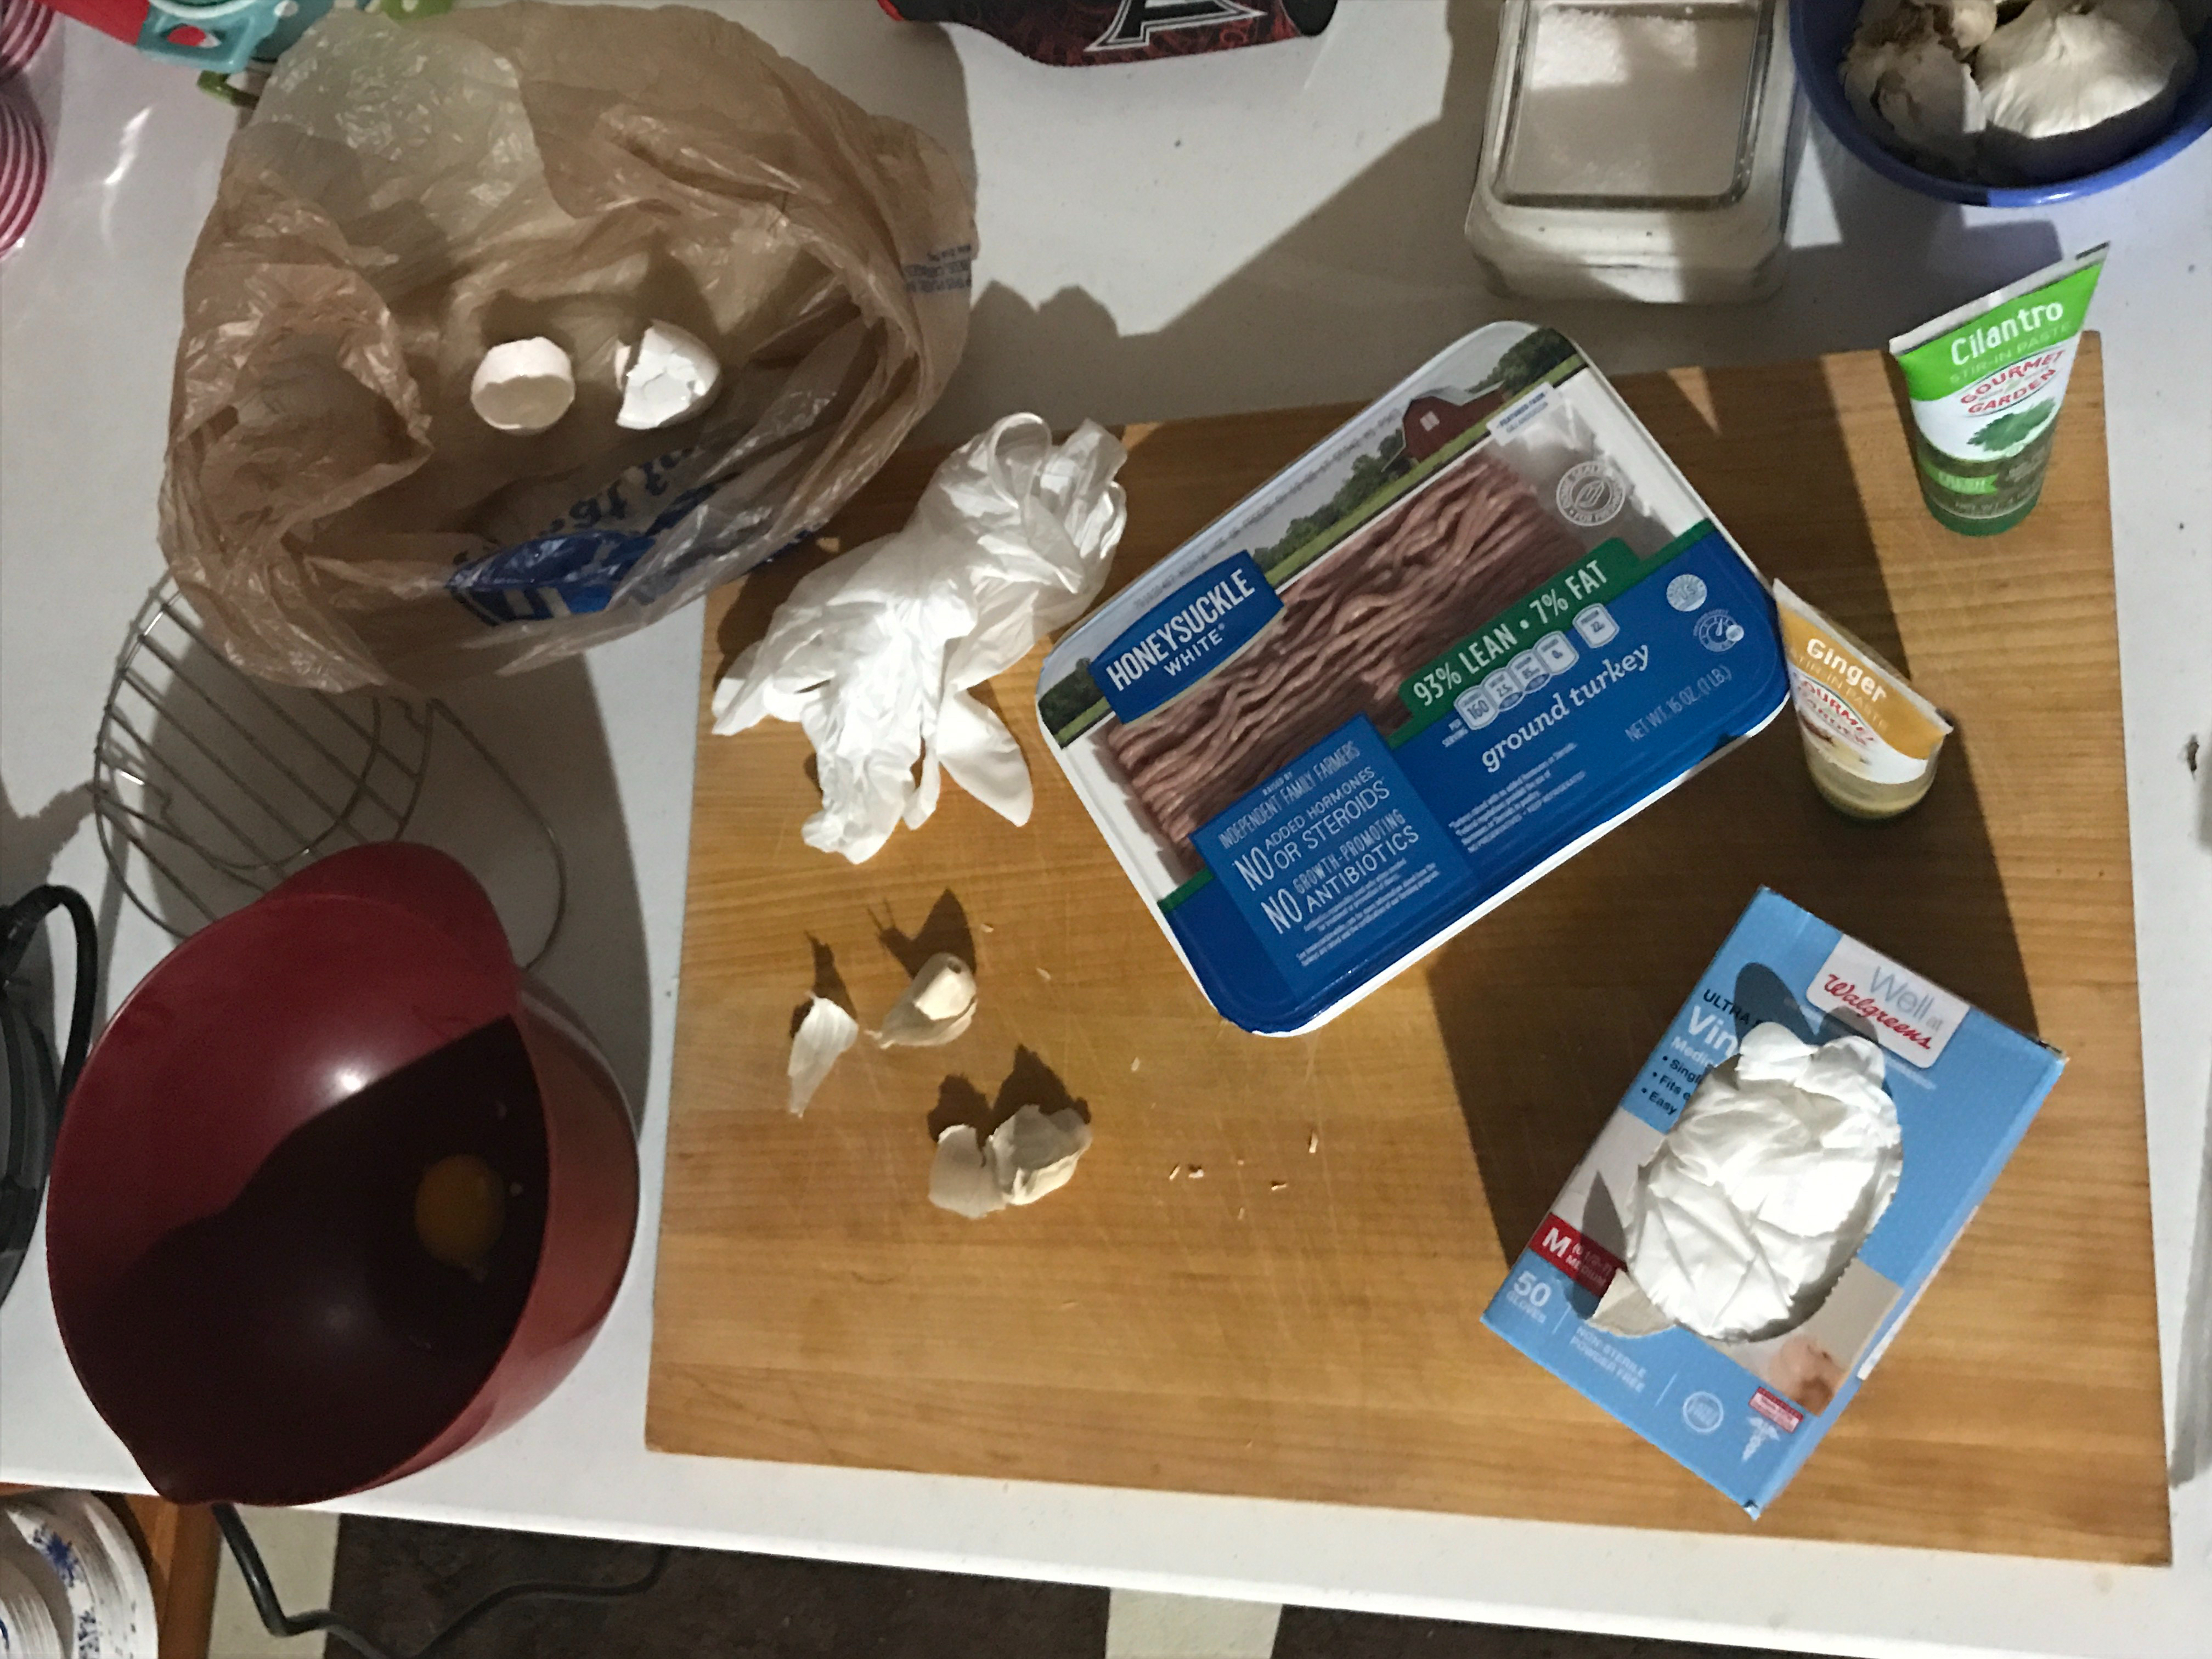
First, we departed from the norm and tried Asian.  I know what you’re thinking…Asian?  In meatballs?  Ugh…  But trust me.  They were AWESOME.  They were so awesome in fact that I didn’t even snap a picture!  Jake gobbled them up and asked for seconds!  He never asked for seconds when it comes to meat!  He even asked when I could make them again.

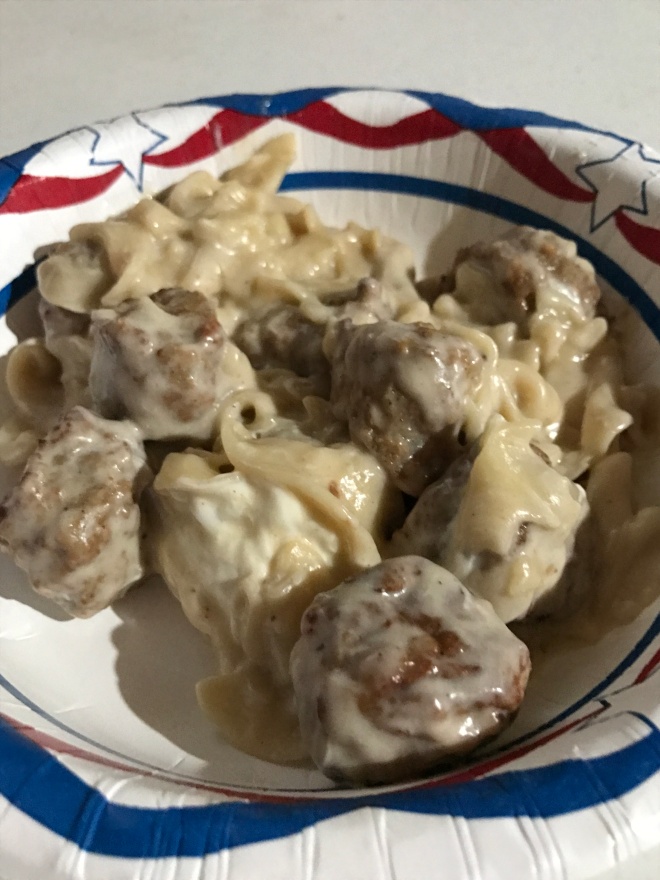
A few nights later, we went Swedish and had some of their meatballs.  And the best part was I didn’t even have to cook the noodles!  Everything was cooked in one pot at the same time! You know what that means?  Daddy got dish duty.  The one thing I would change with this recipe is the cook time.  I didn’t trust the cook time in the recipe I followed, so I upped the amount.  What resulted was overcooked noodles.  But the rest of the recipe was still delicious!  Don’t worry…I adjusted it for you already.

If you’re family is like mine and loves meatballs, try either (or both) of these recipes!  I promise you they’ll be a hit.

img_91781.jpg
Meal #1
Asian Meatballs with Rice
(adapted from this page)

1.25 lbs ground turkey
1 tbsp garlic
1 tsp ground ginger
2 tbsp soy sauce
2 tsp sesame oil
1/3 cup Panko breadcrumbs
1 large egg
1/4 cup chopped cilantro
Honey (optional)
Trader Joe’s brown rice (optional)

Mix all ingredients in a bowl and roll into 1” balls.  Preheat Instant Pot on “saute” and cook your meatballs for 5 minutes, turning to brown each side.  Add ½ cup soy sauce.  Cancel your Instant Pot and hit “manual”.  Add cover to instant pot, making sure the valve is closed.  Choose “manual” high pressure and cook for 15 minutes.

When your pot beeps to let you know it’s done cooking, let the pressure release naturally while you heat up your rice.  In this case, I chose to use Trader Joe’s brown rice because it’s easy.  If you opt to cook your own, it’s best you start both the rice and the meatballs at the same time.

Once your meatballs are finished, drizzle them with honey to sweeten them slightly if you like.  Serve over rice with extra soy sauce or, my favorite, Frank’s Sweet Chili sauce.

I really kick myself for not taking a photo of these meatballs.  We were all so hungry, they vanished before I even thought about it.  The one above is the only one I have so it’ll have to do.

This meal is declared a “freezer meal” on the original page.  You can make all your meatballs ahead of time and throw everything in the pot the night of.  The IP will cook the meatballs from frozen in the same amount of time it cooked the thawed ones.  I don’t know why…I don’t make the rules. (Name that movie, anyone??)

IMG_9220

Meal #2
Swedish Meatballs
(from this recipe)

1.5 cups low sodium beef broth
1/2 cup milk
1 can cream of mushroom soup
16 oz egg noodles
one 24oz bag (frozen & fully cooked) meatballs
1 block cream cheese

Mix the beef broth, milk, and soup in your Instant Pot.  Cover with egg noodles.  Top with meatballs.  Press “manual” and let cook for 8 minutes.  Once the pot beeps, release the pressure.  I like to add a hand towel to the top so it doesn’t splatter soup steam all over.

Once the pressure switch drops, remove lid and mix in your cream cheese.  Serve to hungry boys!

I hope you try these recipes and find something you like!  What is your favorite meatball recipe?


Mini Mexican Pizzas

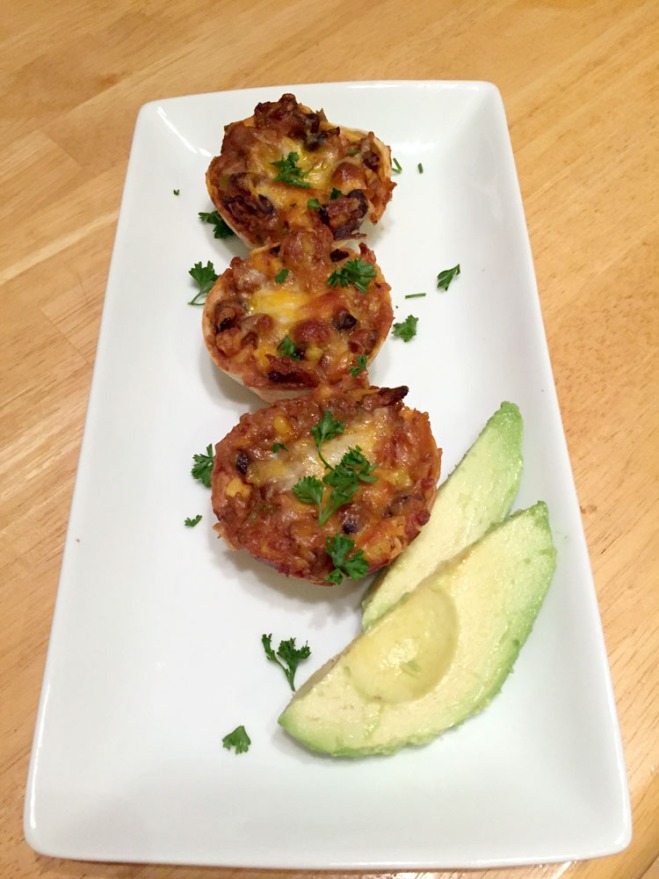
Mini Mexican Pizzas 5 EditedI have a weakness for Mexican food.  The cheese, the spicy flavors, the deliciously seasoned meats.  What’s not to love?  I also have a weakness for meals I can prep ahead of time and keep in my fridge or freezer for those nights where I’m racing the clock to get dinner on the table.

Last month, during Retail Crunch Time 2014 (otherwise known as Christmas), I threw these little babies together really quick one night and popped them in the oven.  They were delicious!  Neither Jeff nor I could believe how yummy they were!

Plus everything is better in mini, right?

(Sorry it took me so long to get this one up, Mrs. Linda!)

Mini Mexican Pizzas Edited

Mini Mexican Pizzas
(adapted from this recipe)

5-6 large whole wheat tortillas
1 cup lean ground turkey or beef, browned and drained
1/2 cup salsa (I like Kroger’s version of Tostitos salsa)
1/2 packet dry taco seasoning
1/2 can whole kernel corn, drained
1/2 can black beans, drained and rinsed
1/2 can refried beans
1/2 cup shredded cheddar or Mexican blend cheese
Optional:  black olives, chopped tomatoes, shredded lettuce, sour cream

Preheat oven to 425*.  Spray muffin tins with nonstick cooking spray.  I believe this recipe made 18, but I can’t be positive.

Lay out your tortillas on a flat surface and cut out rounds to fit your muffin tins.  I want to say I ended up going with a 3″ diameter round that fit in my muffin tins but as it was over a month ago and my brain isn’t quite as young as it used to be, I’m having a tough time remembering.  Some blogger I am…

Press each round into the muffin tins.  They don’t have to be perfect or even go all the way up each side.  They just have to cover a decent amount of the surface area of the muffin tins.

In a small bowl, combine your turkey or beef, salsa, taco seasoning, corn, black beans, and refried beans.  Stir to combine.  Scoop about 1/8th of a cup of the filling into each cup.  Top with cheese (divided equally) and bake in preheated oven for 12-15 minutes or until the cheese has melted and everything is warmed through.

Serve with toppings if you choose.

Mini Mexican Pizzas 4 Edited

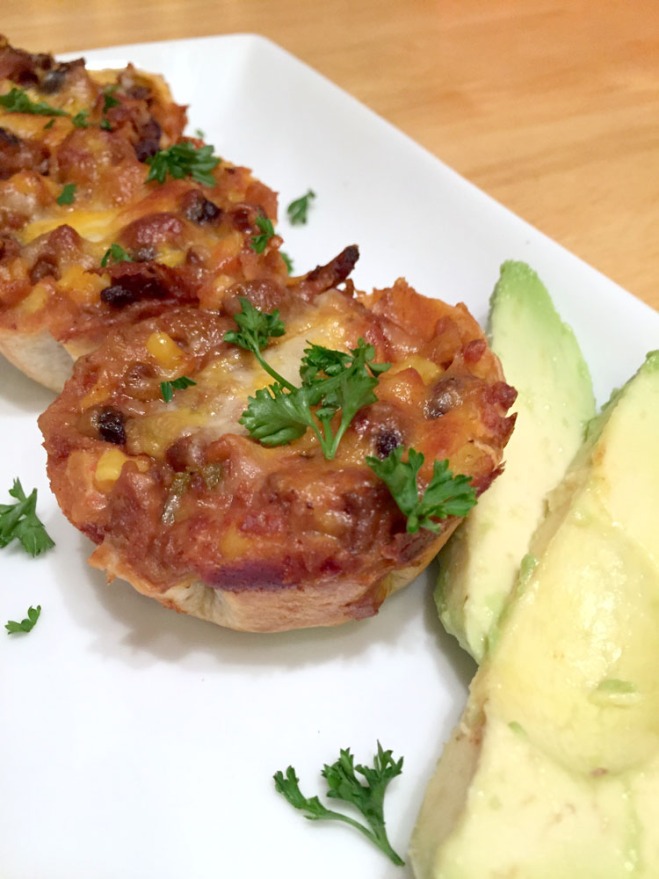
My favorite part of this recipe was how the tortillas got a little crispy on the bottom.  Mmm…this are definitely going on next week’s cooking list!

Ultimate Pulled Pork

Ultimate Pulled Pork | One Girl's Taste on Life

I have a new favorite Food Network show.  Have you met Damaris Phillips?  Damaris, a Louisville, Kentucky native, was the winner of Food Network Star, Season 9.  Now, I didn’t watch that show, but I tend to spend Saturday and Sunday mornings going through the list of Food Network shows as this is when the new cooking shows air.

One day, I happened upon a show called Southern at Heart.  I’m southern at heart…sort of (I grew up in Tennessee)…so I set it to record and went on my merry way.  Well, I don’t remember what Damaris made on the show that morning, but I do know I was charmed the minute she started talking.  With her southern drawl, her quirky behavior, and her passion for somewhat unique ingredients (coconut oil, sorghum, agave nectar), I was hooked.  I’ve made a couple things of hers including Fried Chicken Salad sandwiches (recipe to come) and I’ve never been disappointed.

I’m always looking for a good pulled pork recipe because pork is relatively low in fat and calories and can be made into sandwiches, tacos, or piled on sweet potatoes.  She made a pulled pork recipe on her Football Tailgating episode in November, so I added the recipe to my weekly food list and headed out to the store.

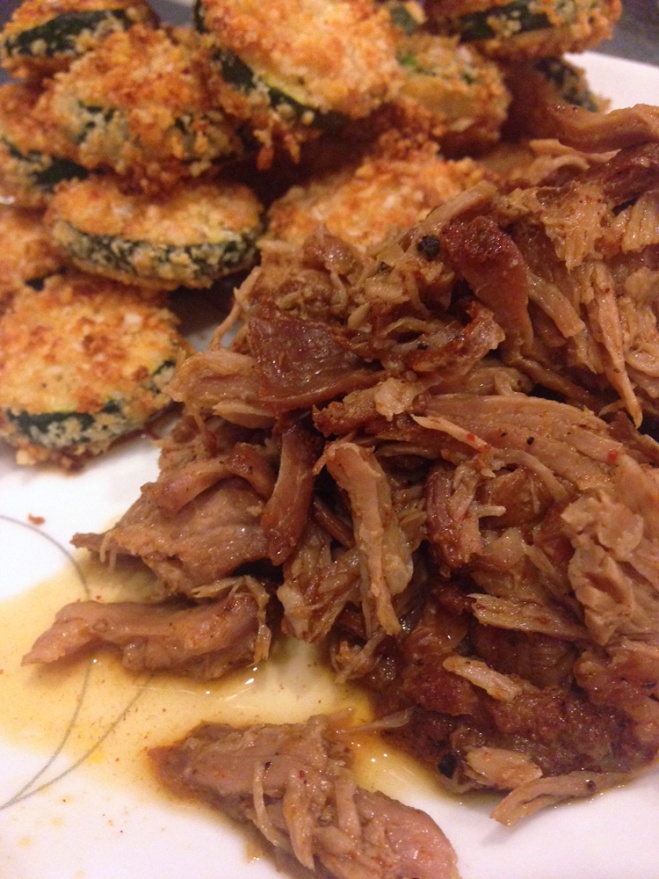
The entire day, I kept smelling the pork.  It smelled good.  I was not disappointed.  I practically ate the whole roast before it had even cooled!  If you’re looking for a delicious, healthy pork recipe, add this to your list.

Ultimate Pulled Pork | One Girl's Taste on Life

Ultimate Pulled Pork
(adapted from Damaris Phillips’ Pulled Pork Nachos)

2 tbsp chili powder
2 tsp garlic powder
1 tsp smoked paprika
1/2 tsp ancho chile powder
1/2 tsp Italian seasoning
2 small or 1 large bay leaf
salt & pepper
3 pounds boneless pork butt, cut into smaller pieces
One large onion, diced
1/2 cup honey
1/4 cup vegetable oil
1/4 cup sherry vinegar
1 tsp liquid smoke

In a medium sized bowl, combine the chili powder, garlic powder, paprika, chile powder, Italian seasoning, salt, and pepper.  Set aside.  Put your diced onion into the bottom of the crock pot to create a base for the pork to sit on.

Trim your pork of most of the fat.  I didn’t do this the first time, and I kept finding big chunks of fat amid my delicious pork.  To quote Alton…not good eats.  Damaris suggested cutting the pork butt into more manageable pieces, so that’s what I did.  Once your pork is prepped, dredge in the seasonings and place in the slow cooker.

Next, combine the honey, oil, vinegar, and liquid smoke until mixed.  Pour over the pork.  Set your slow cooker to low and let cook for 6-8 hours.  Remove from liquid and shred with two forks.

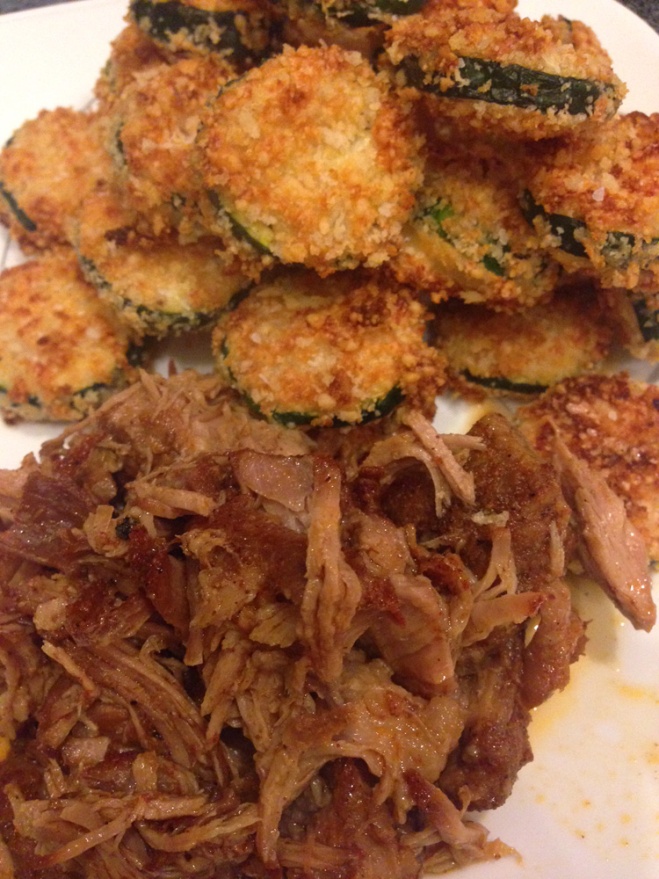
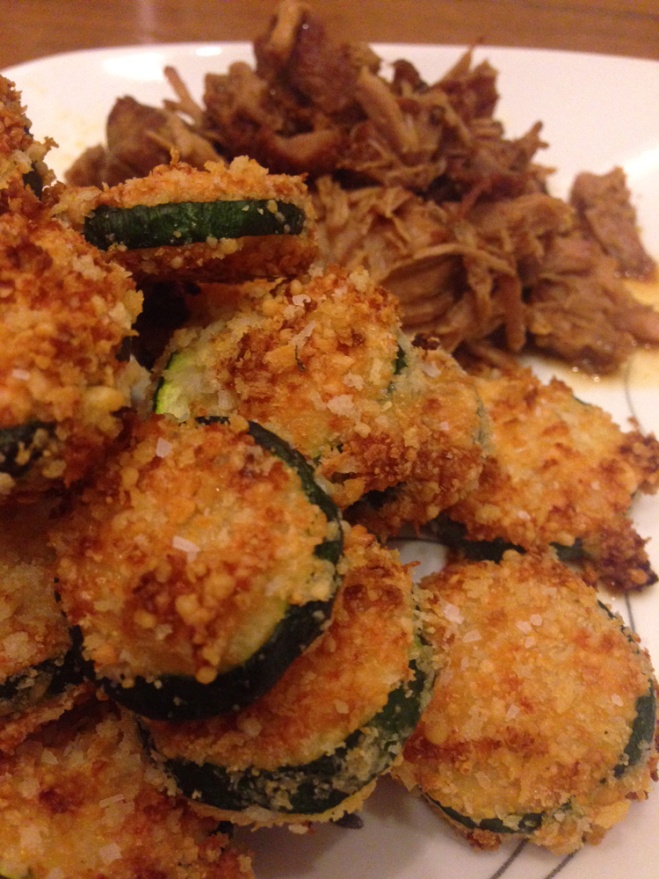
This pork is very versatile, but my favorite way to eat it is just alongside Oven Fried Zucchini Medallions.  They’re the perfect side dish to this meal.  Stay tuned!

Ultimate Pulled Pork | One Girl's Taste on Life

Caesar Cornflake Crusted Chicken

caesar chicken

Continuing with the theme meals that are so prevalent on the blog lately, this dinner is another great one to have in your arsenal.  It’s quick, easy, and extremely delicious.  It’s definitely a crowd pleaser.  Throw in some rice and a veggie and you’re good to go!

Caesar Cornflake Crusted Chicken
1 pound chicken breasts, butterflied
1 cup Caesar dressing (or more if desired)
2 cups corn flakes cereal, crushed
salt and pepper

Preheat oven to 425*.  Put your Caesar dressing in a wide dish (I tend to use cake pans).  Put your crushed up corn flakes in a second dish.  Lightly spray a broiler pan or something similar (like a cooling rack set over a cookie sheet) with nonstick cooking spray.

Dredge each of your chicken breasts first in the dressing, then in the corn flakes.  Place on rack.  Repeat for all breast pieces.  Sprinkle with salt and pepper.  Bake for 30 minutes on 425*.

*You may need more dressing and/or corn flakes if you don’t have enough to cover all your pieces.

That’s it.  Simple as that!

Bowtie Pasta with Sausage Cream Sauce

20130930-203254.jpg

Another one? In less than a week? I know…I amaze myself too.

I’ve been really trying to cook for the family lately. We all love pasta and sausage and…well…cream. So when I saw this dish, I quickly added it to my dinner plan.

This dish came together super fast and it was DELISH! Not the healthiest meal but definitely a tasty one.

Bowtie Pasta with Sausage Cream Sauce
1 box bowties
1 pound sweet Italian sausage, removed from casings
1/2 tsp crushed red pepper flake
1/2 onion, diced
3 cloves garlic, minced
1 28-oz can diced tomatoes
1/2 tsp salt
1.5 cups heavy cream
Fresh parsley, chopped (optional)
Parmesan cheese (optional)

In a large stockpot, bring water to a boil. Cook bowties according to package directions.

In another large skillet, cook sausage and red pepper over medium heat, breaking into pieces. Once cooked, add onion and garlic. Cook until onions are translucent, then add tomatoes, cream, and salt. Bring to a boil over high heat, then reduce to simmer and let bubble away while pasta cooks.

Once pasta is done, drain and add to sauce. Toss to coat, then let cook in the sauce for a minute or two. This allows the pasta to soak up some of the sauce.

To serve, top with parsley and Parmesan cheese.

Of course, the little boy only ate the pasta. I’m beginning to think he’s part vegetarian!

Mexican Chicken Thighs

chicken thigh

What’s this?  A RECIPE??  No way.

Hello, blog world.  I’ve missed you terribly!  You guys know I’m super busy and quick, easy meals are a necessity in my life.  Well, this one couldn’t be easier.  You take some chicken, dust it with dry rub, let it sit, and then cook it.  Seriously.  It’s simple.  Try it.  Tomorrow.

Mexican Chicken Thighs
1 pound chicken thighs
1/2 packet taco seasoning
1 tbsp olive oil
1 cup salsa (or to taste)
1-1.5 cups taco cheese

Preheat oven to 400*.  Season chicken thighs with taco seasoning, really rubbing the seasoning into the thighs.  Let sit in the fridge at least one hour or overnight.  Brown chicken in olive oil over medium high heat.  Transfer chicken to a baking dish.  Cover with salsa and cheese.  Bake at 400* for 20 minutes or until chicken is cooked through.

Serve with sour cream, avocado, or any other toppings of you choice.

I served this over chicken flavored rice and it was yummy!

Also tastes great in a tortilla.
tortilla thigh

Meal Plan: February 2013

Everyone has a hard time figuring out what to cook.  I was talking to a co-worker this weekend and she told me that, while she was going back to school, she asked her husband to cook dinner on Thursday nights as it was her busy day.  He replied that he would cook, but she needed to tell him what to make.  She exclaimed that that was the hardest part!

I completely agree.  I love to cook, but sometimes I just really don’t know what to make.  My husband is no help because he never has any ideas for me.  I asked him the same question each week.

What do you want for dinners this week?

He responds one of two ways:

Meatloaf. 

Or

I don’t care.  Whatever you make.

Ugh!  Finally, I got smart.  A few years ago I started meal planning.  I must say…when I do it and stick to the plan, it really makes a difference in my day!  I don’t have that dreaded feeling hanging over my head of what to make.  I typically am more prepared and have the ingredients on hand.  I don’t have to try to figure out how to pick up the ingredients I’m missing and still make it home in time to have dinner on the table by 6p (Jake’s dinner time).

I realize many of you feel the same way, which is why I’m hopefully starting a new series on this blog.  I’ve tried in the past to post menus and failed miserably, so take that as your warning.

Jake eats most anything we eat aside from fish, shellfish, and nuts of any kind (though I did slip and give him some peanuts with my Thai food the other day.  Whoops!).  Some of the dishes are spicy (like the Cajun Chicken Alfredo and the Spicy Chicken Tortilla Rollups).  I figure I’ll just make a couple without the spice or he will have leftovers that day.  In any case, this may help lots of you moms out there!

I also plan to lighten up some of the more calorie dense meals to make them more Weight Loss Goal friendly.  Stay tuned for more on that later.

Screen Shot 2013-01-28 at 10.01.55 AM

Here’s the key to reading the calendar.  The light green recipes are from my Pinterest account.  The light blue ones are either from my blog or from my personal collection of recipes.  Here are the links to the recipes you can find online:

Burgers
Cajun Chicken Alfredo
Chicken Bacon Ranch Mac & Cheese
Chicken Cassoulet
Chicken Cordon Bleu
Chicken Taco Chili
Cilantro Lime Chicken
Cream Cheese Chicken
Crispy Southwest Chicken Wraps
Forgotten Chicken
General Tso’s Chicken
Honey Garlic Pork Chops
Meatloaf
Mexican Lasagna
Mini Corn Dog Muffins
Mushrooms Pizza Bites
Pad Thai
Pizza Casserole
Pork Chops au Poivre
Proscuitto Panini
Quick Coq au Vin
Spaghetti with Chicken and Thai Peanut Sauce
Spicy Chicken Tortilla Rollups
TJ (Trader Joe)’s Chicken Satay with Coconut Rice
Ultimate Chicken Fingers

You probably notice there isn’t any room for leftovers.  Most of the time, we either eat the leftovers for lunches, or I try to make a single night’s portion instead of a whole family’s worth.  The food gets eaten, don’t you worry.

I hope you guys enjoy this post!  If this is something you enjoy seeing, please let me know by leaving me a comment on my blog.  You can also show your support by liking my Facebook page!  I’d love to hear from you!

Harvest Ravioli For One

One day a few months ago, my dad and his wife came down from Cleveland to visit Jake.  You remember Jake, right?  Cute little booger of a boy.

Anyway, we had gotten together for a little visit and wanted to have dinner somewhere.  Since Jake’s schedule is a little unpredictable right now, we opted to order in from one of the restaurants around me.  We all like Italian so we chose Bravo.  After looking over the menu, I landed on a delicious looking ravioli dish:

I love sweet potatoes and brown butter, so this seemed right up my alley.  Oh. My. God.  Deliciousness ensued!  The dish would have been OK with the beef ravioli and the brown butter sage sauce, but the sweet potatoes put it over the top!  The slight sweetness and smooth texture of the sweet potatoes mixed with the meatiness of the beef and the sinful brown butter was to die for!  I cleaned my plate and have been dreaming of that dish ever since.  Until the other day…

Wednesday I was getting some chores done, writing blog posts, and doing various other tasks when I looked up and it was 11:ooa!  I had totally skipped breakfast.  I was trying to figure out what exactly I wanted to eat, but none of the breakfast items I had sounded good.  That’s when I remembered the ravioli dish.  I had picked up some Crab and Shrimp Raviolis from the farmer’s market on the day of the Color Run and I was anxious to use them.  I had also roasted some sweet potatoes for Jake the day before so I had all the necessary components at my finger tips.  It was time to get crackin’…

Harvest Ravioli

6 raviolis of your choice (I used crab & shrimp but wild mushroom would have been good too)
3 tbsp butter cut into 1 tbsp pieces
5-6 sage leaves, torn
1/4 cup roasted sweet potato*
salt for pasta water
cracked black pepper
Parmesan cheese

In a small pot, bring enough water to a boil to cook your raviolis.  Salt the water and then cook according to package directions.

In a separate small saucepan, add your butter.  It helps to have them cut into pieces to help brown more evenly.  Melt butter and continue to cook, whisking, until the butter foams and you start to see small brown flecks on the bottom of the pan.  You will also start to smell a nutty aroma.  It only takes a couple minutes.  Remove from heat and set aside.

Add your sage leaves and sweet potato to the butter and toss to coat.  Your sage leaves might pop in the butter.  That’s OK.  I took my potatoes from the fridge so I ended up putting my saucepan back on the burner for a quick minute to ensure the potato got heated through.  It was a small dice, so it didn’t take long.  I also added just a little bit of pepper to give it a bit of spice.

After your pasta is done cooking, scoop them out and add them straight into the hot butter.  Toss to coat and then plate up.  I garnished my dish with a bit of Parmesan cheese and a small bunch of sage.  Beautiful AND delicious!

*I cut my sweet potatoes into a small dice, tossed them with olive oil, cinnamon, rosemary, and just a hint of salt and pepper, then roasted them in a 400º oven for 25 minutes.  Perfection!

What a Crock (Pot Roast)

As you all know, Jeff and I are expecting our first little one in about a month, so I have been scouring the internet for all kinds of easy recipes.  The other day I stumbled (literally…using stumbleupon.com) on a recipe that sounded really good!  Since I was off Friday, I decided to test it out.

This is a quick, simple recipe you can easily throw together in the morning and let simmer all day!  It’s especially good as leftovers, so go ahead and use up that big cut of roast you got on sale the other day.

Marie’s Best Ever Pot Roast

2-5 pound pot roast (any kind)
1 envelope dried ranch dressing mix
1 envelope Italian dressing mix
1 envelope brown gravy mix
Desired veg (She used potatoes and carrots, I added sweet potatoes)
1 to 1.5 cups water

Spray your slow cooker with nonstick cooking spray or use Reynold’s Slow Cooker Liners.  Trust me…it makes clean up so much easier!  Chop your veg into big chunks and place them in the bottom of the pan.

Top your veg with the roast and cover with packets of seasonings and water.  *Last time I didn’t mix the seasonings and water together, but I will the next time I make this.  I found chunks of seasoning on certain parts of the roast and it was just a little overstimulating.  I think mixing all the seasonings and the water together would help distribute the flavors.

Cook on low for 6 hours or until the meat falls apart.

I just picked out what I wanted to eat instead of plating a whole meal (Jeff had already eaten), but if I were to serve this to guests I would probably lift out the meat and veg and place on a serving dish.  Then, I would strain the liquids from the bottom of the pan and turn it into a gravy.  (You can do this easily by combining a tbsp of cornstarch to about 1/2 cup water and whisking it together to remove lumps.  Then add the mixture to the sauce.  Heat the sauce over medium heat while whisking until the gravy is as thick as you’d like.)

One other tip I have for you (and I wish I had taken a picture) is the sandwich I made with the leftovers yesterday!  I had picked up a salted bagel from Dorothy Lane Market, so I turned the bagel into a pot roast sammie.  I cut the bagel in half, topped it with the meat, some worchestershire and provolone, and warmed it in the microwave to melt the cheese.  It was so good!  I think next time I’ll try it with A1 sauce though.  Or horseradish sauce…mmmm…

So, if you’re looking for a quick, easy, crock pot recipe, this one has tons of flavor!  Plus think of all the things you can use the leftover meat for!  Enjoy!