 Have you ever come home from work and thought, I’m way to tired to stand over the stove making dinner. Girl, me too. It happens all. the. time. But I just can’t make myself order takeout night after night. Not only am I trying to lose weight, but we are trying to save money since we’re basically redoing our entire main living area.
I asked Jake what he wanted for dinner on Saturday and he said pasta. Now, you may be thinking “how are you going to cook pasta if you don’t have a stove, Bethany?” I’m glad you asked. By now, you all realize I love my Instant Pot. And hopefully by now, you’ve taken the plunge and bought yourself one!
You can just throw a bunch of stuff in your instant pot, press cook, and go. Set it and forget it, right? Pasta, it turns out, is no exception! Guys, I may never cook pasta in boiling water again! It’s seriously that easy and super quick. Plus the tomato sauce soaks into the pasta so the flavors are incredible!
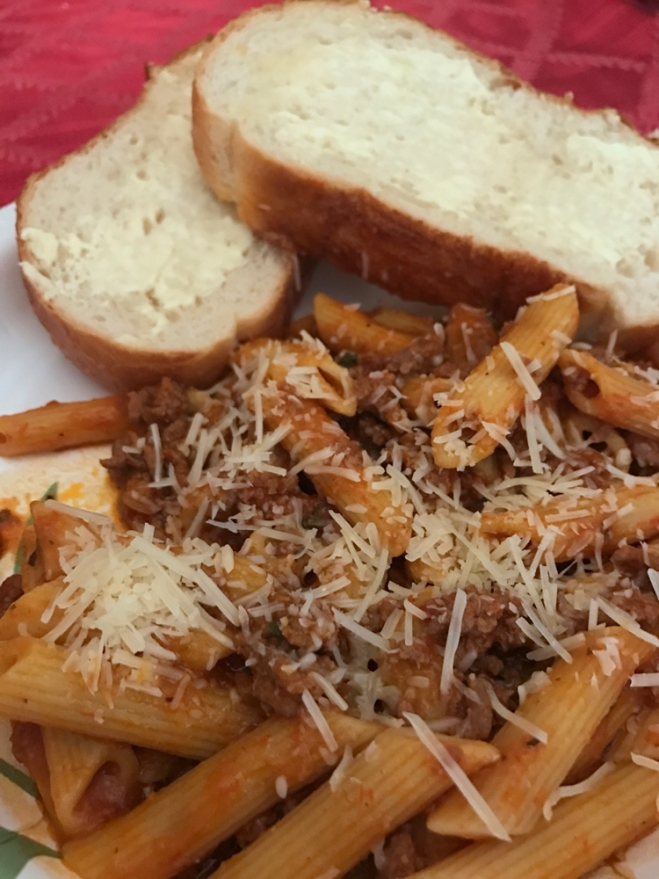
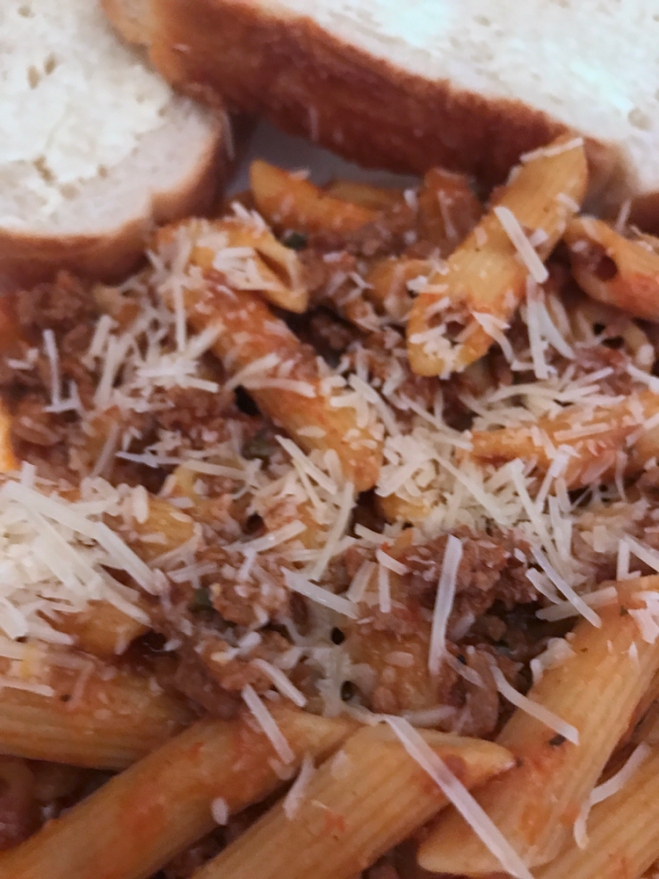 Instant Pot Pasta with Meat Sauce
(adapted from this recipe)
1 tbsp olive oil
1 onion, chopped
1.5 pounds ground beef
Salt and pepper
3 cloves garlic, minced
1 box penne pasta, dry
1 jar pasta sauce
Water (fill up the pasta sauce jar ½ way, then shake to get every last bit of sauce)
1 squirt basil (optional)
Turn your IP on to Saute. Add your olive oil and onion. 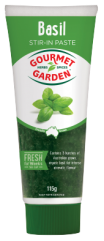 Let onion cook for a few minutes before adding your beef. Cook beef until brown, using a spoon to break up the meat along the way. Once meat is browned, drain if necessary. Add beef back to IP.
In with the beef, add salt and pepper to taste, garlic, dry penne pasta, pasta sauce, and water. If you so choose, add in a squirt of basic paste. What is basil paste? It’s amazing stuff. There’s this company called Gourmet Garden that is just awesome! They make lots of herbs prepped and ready to go, eliminating the prep work. I hate peeling ginger and GG has it already in a tube! They also have cilantro, garlic, lemongrass, and Thai seasoning just to name a few. I get them right in the regular grocery store next to the herbs in the plastic containers. I’ve never seen the Thai seasoning though…I’m still on the lookout. “True” cooks will probably sneer at the mention of these types of items but you know what I say to that? I’m a mom to a relentless, question-asking 5-year-old, who works 50 hours weeks on her feet outside the home. I’ll take whatever shortcuts I can.
After you get all your ingredients in the pot, mix to combine, then put on your lid, making sure to turn your knob to sealing. Set the IP to manual for 5 minutes.
Once the IP beeps, release the pressure. When you take the lid off, you’ll notice it looks like there is a lot of water on the top and you’ll probably think the pasta didn’t cook enough. Take a deep breath and stir the contents one more time. Then taste the most delicious, perfectly cooked pasta you’ve ever had! The water that’s on top mixes in to the rest of the dish and creates a perfectly creamy, saucy dish. Think of it as the standard cup of “starchy cooking water” Rachael Ray tells you to remove every time you cook pasta.
I’m not kidding…I may literally never boil water for pasta again for the rest of my life. I can have amazing, delicious, perfectly cooked pasta within 20 minutes of coming home from work AND only dirty one easy to clean pan. Uhhh…yes please.
While the pasta was cooking, I made salad and toasted some bread. Because it’s not pasta night without mama making a sandwich! Have I convinced you to get an Instant Pot yet? Don’t worry…I have more tricks up my sleeve. (And, no, I’m not affiliated with IP. I just sincerely love their product.)


edited")


