Instant Pot Korean Beef | Cooking Through Construction

IMG_9418editedIf you ask my boys, they’ll tell you we rarely have the same thing twice.  I have a handful of favorite recipes that I make over and over again, but usually I’m scouring the internet and my cookbooks looking for new and different things to try.  Sigh…I miss my cookbooks, packed away until the kitchen is completed.  The boys often have to request a meal they miss if they want me to make it again.  Jake has meatball subs in the request pile right now actually.

One of my go to meats to cook with is ground beef because it’s a meat Jake doesn’t usually have an issue with.  Some of his favorite meals include meatballs (see above), meatloaf, and sloppy joe.  Oh and the spaghetti with meat sauce from Wednesday.  You’ll notice all of them have ground beef as the base.  So when I was making my weekly meal plan last weekend and wasn’t inspired by anything on Pinterest, I googled “low carb ground beef recipes” to see what I could come up with.
IMG_9421editedYou see, not only am I cooking without a kitchen, I’m trying to lose a couple pounds before my best friend’s wedding in early April.  I’ve done a decent job so far, but to be honest I’m starting to lose track a bit!  With a night of burger eating in my future, it’s not looking too good…  Yikes!

Anyhow, I searched for the recipes and came across Korean Beef Bowls, which sounded interesting.  I love Asian flavors so anything that has Chinese, Japanese, or Korean in the name is probably up my alley.  Furthermore if they include garlic and ginger, I’m in.

I read through the recipe and decided it was a go!  The best part was I could make everything in my Instant Pot or on my stove, whenever I get that back.  And, unbeknownst to me, the boys were going to love it!  Quick, easy, and a crowd pleaser.  I think that fits the bill in my house.
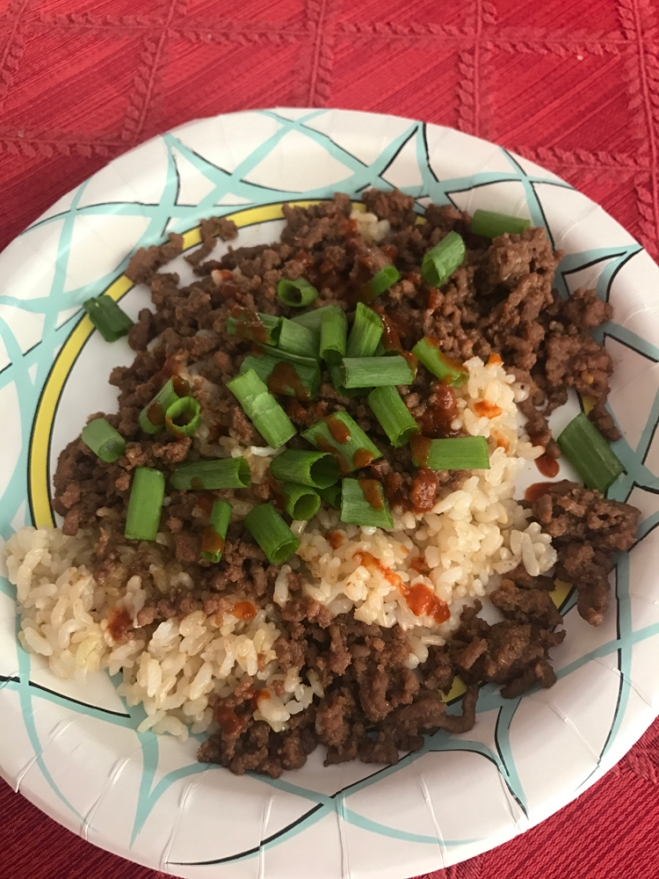
IMG_9417editedKorean Beef Bowls
(adapted from this recipe)

1 tbsp sesame oil
1½  pounds lean ground beef
3 cloves garlic, minced (or 1 heaping tbsp garlic paste)
½ tsp Stevia drops (or ½ cup sugar)
½ tsp molasses
¼ cup soy sauce
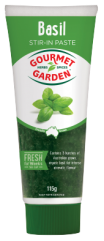
½ tsp fresh ginger (or use the Gourmet Gardens paste…seriously I love this stuff)
½ tsp crushed red pepper flakes (or more if you like it spicy)
1 tbsp honey (if desired)
1 bunch scallions, chopped
Sriracha (if desired)

Turn your Instant Pot on saute and heat your oil.  Brown your ground beef, breaking it up as you go.  Drain beef if needed.  Add your garlic, Stevia, molasses, soy, ginger, and crushed red pepper flake.  Cook for 5 minutes until flavors have combined.

This is where I deviated a bit from the original recipe.  I tasted the recipe and decided I wanted it a bit sweeter, plus I have an issue with fake sugar sometimes.  It leaves a taste in my mouth I don’t always love, so I added a drizzle (or two) of honey.  I believe it ended up being about a tablespoon.  Then I stirred it up again and tasted it.  Yum!

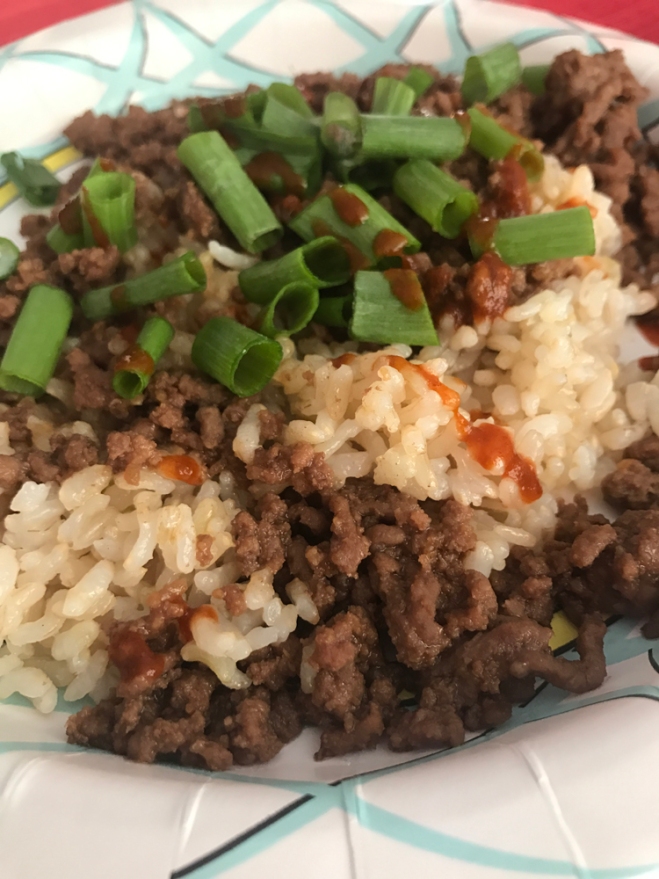
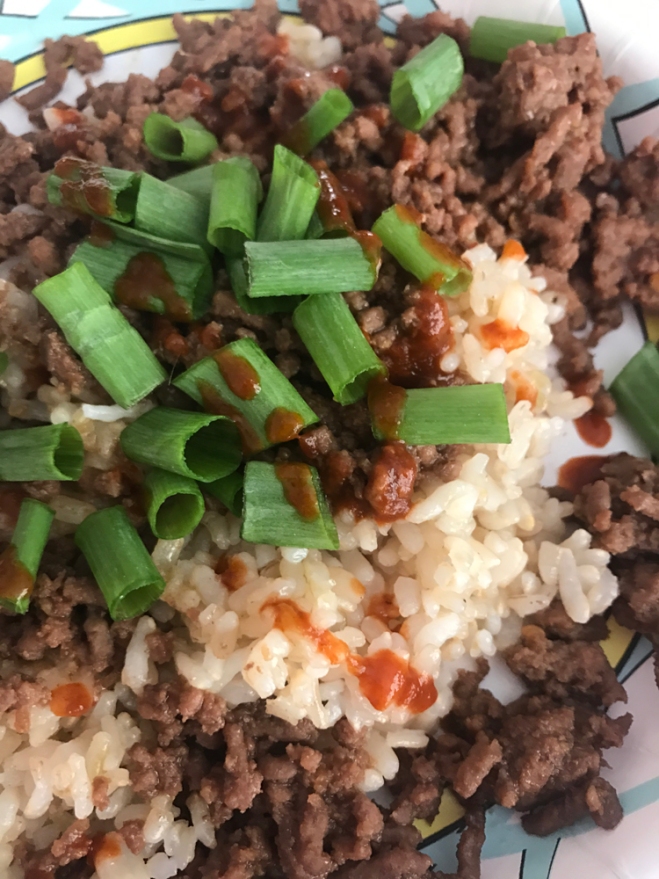
I served the beef over Trader Joe’s frozen brown rice (a HUGE timesaver in my house) with a drizzle of Sriracha and a sprinkle of scallions.  Both boys raved about it and Jake finished an entire plate!  And it wasn’t small either!

If you are truly trying to do low carb (like I should have been), you can serve this over cauliflower rice instead.  I’m not a big fan of cauliflower so, while I try to get on board with this trend, it can be hard for me sometimes.  Regardless, this beef is worth a try.  Jeff commented that it would be good in tortillas too.  Asian tacos…future blog post maybe?
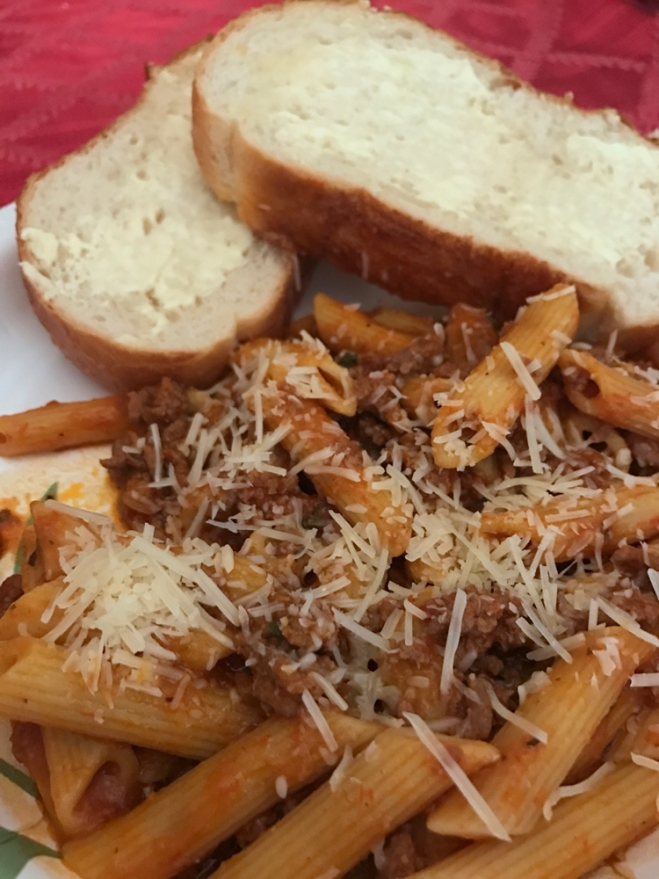
Instant Pot Pasta with Meat Sauce | Cooking Through Construction

IMG_9398editedHave you ever come home from work and thought, I’m way to tired to stand over the stove making dinner.  Girl, me too.  It happens all. the. time.  But I just can’t make myself order takeout night after night.  Not only am I trying to lose weight, but we are trying to save money since we’re basically redoing our entire main living area.
I asked Jake what he wanted for dinner on Saturday and he said pasta.  Now, you may be thinking “how are you going to cook pasta if you don’t have a stove, Bethany?”  I’m glad you asked.  By now, you all realize I love my Instant Pot.  And hopefully by now, you’ve taken the plunge and bought yourself one!

You can just throw a bunch of stuff in your instant pot, press cook, and go.  Set it and forget it, right?  Pasta, it turns out, is no exception!  Guys, I may never cook pasta in boiling water again!  It’s seriously that easy and super quick.  Plus the tomato sauce soaks into the pasta so the flavors are incredible!

IMG_9400editedInstant Pot Pasta with Meat Sauce
(adapted from this recipe)

1 tbsp olive oil
1 onion, chopped
1.5 pounds ground beef
Salt and pepper
3 cloves garlic, minced
1 box penne pasta, dry
1 jar pasta sauce
Water (fill up the pasta sauce jar ½ way, then shake to get every last bit of sauce)
1 squirt basil (optional)

Turn your IP on to Saute.  Add your olive oil and onion.  au-new-branding-basilLet onion cook for a few minutes before adding your beef.  Cook beef until brown, using a spoon to break up the meat along the way.  Once meat is browned, drain if necessary.  Add beef back to IP.
In with the beef, add salt and pepper to taste, garlic, dry penne pasta, pasta sauce, and water.  If you so choose, add in a squirt of basic paste.  What is basil paste?  It’s amazing stuff.  There’s this company called Gourmet Garden that is just awesome!  They make lots of herbs prepped and ready to go, eliminating the prep work.  I hate peeling ginger and GG has it already in a tube!  They also have cilantro, garlic, lemongrass, and Thai seasoning just to name a few.  I get them right in the regular grocery store next to the herbs in the plastic containers.  I’ve never seen the Thai seasoning though…I’m still on the lookout.  “True” cooks will probably sneer at the mention of these types of items but you know what I say to that?  I’m a mom to a relentless, question-asking 5-year-old, who works 50 hours weeks on her feet outside the home.  I’ll take whatever shortcuts I can.

After you get all your ingredients in the pot, mix to combine, then put on your lid, making sure to turn your knob to sealing.  Set the IP to manual for 5 minutes.

Once the IP beeps, release the pressure.  When you take the lid off, you’ll notice it looks like there is a lot of water on the top and you’ll probably think the pasta didn’t cook enough.  Take a deep breath and stir the contents one more time.  Then taste the most delicious, perfectly cooked pasta you’ve ever had!  The water that’s on top mixes in to the rest of the dish and creates a perfectly creamy, saucy dish.  Think of it as the standard cup of “starchy cooking water” Rachael Ray tells you to remove every time you cook pasta.

I’m not kidding…I may literally never boil water for pasta again for the rest of my life.  I can have amazing, delicious, perfectly cooked pasta within 20 minutes of coming home from work AND only dirty one easy to clean pan.  Uhhh…yes please.

While the pasta was cooking, I made salad and toasted some bread.  Because it’s not pasta night without mama making a sandwich!  Have I convinced you to get an Instant Pot yet?  Don’t worry…I have more tricks up my sleeve.  (And, no, I’m not affiliated with IP.  I just sincerely love their product.)


Meatballs…Not Just for Italians Anymore | Cooking Through Construction 

I’ve been doing A LOT of cooking in the basement and, guys, it’s a breeze!  Really!  It’s all about the set up and having the right tools.  Once I set up my long, white table with various cooking utensils, spices, seasonings, and (most importantly) my Keurig, it was simple after that!  Plus, the tool that’s making it all possible…my Instant Pot.

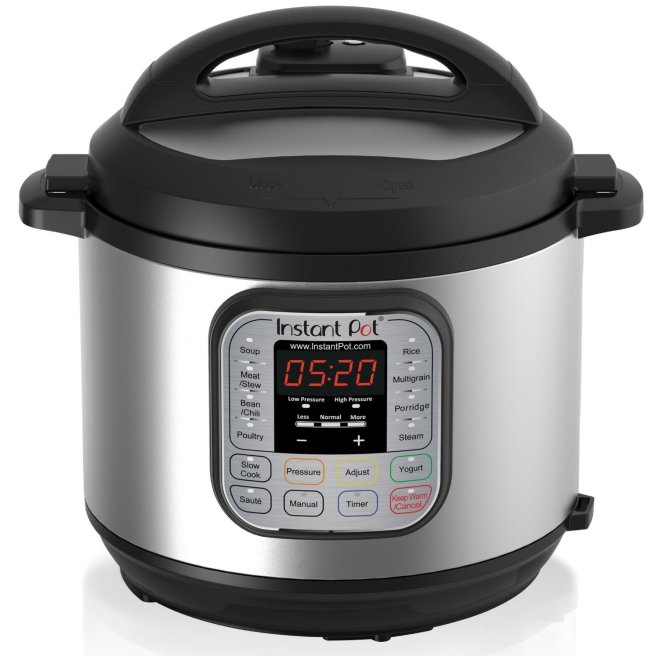
71-ak79nv1L._SL1500_Special PSA about the Instant Pot:  if you’re a busy mom or new to cooking or a retired person or if you like to eat in general, you need an Instant Pot.  Let me repeat.  You NEED an Instant Pot.  You can order it right here.
I’ll wait.

Now that that’s out of the way, I can tell you about the two awesome meatball recipes I’ve made in our Basement Bistro.

First, we departed from the norm and tried Asian.  I know what you’re thinking…Asian?  In meatballs?  Ugh…  But trust me.  They were AWESOME.  They were so awesome in fact that I didn’t even snap a picture!  Jake gobbled them up and asked for seconds!  He never asked for seconds when it comes to meat!  He even asked when I could make them again.

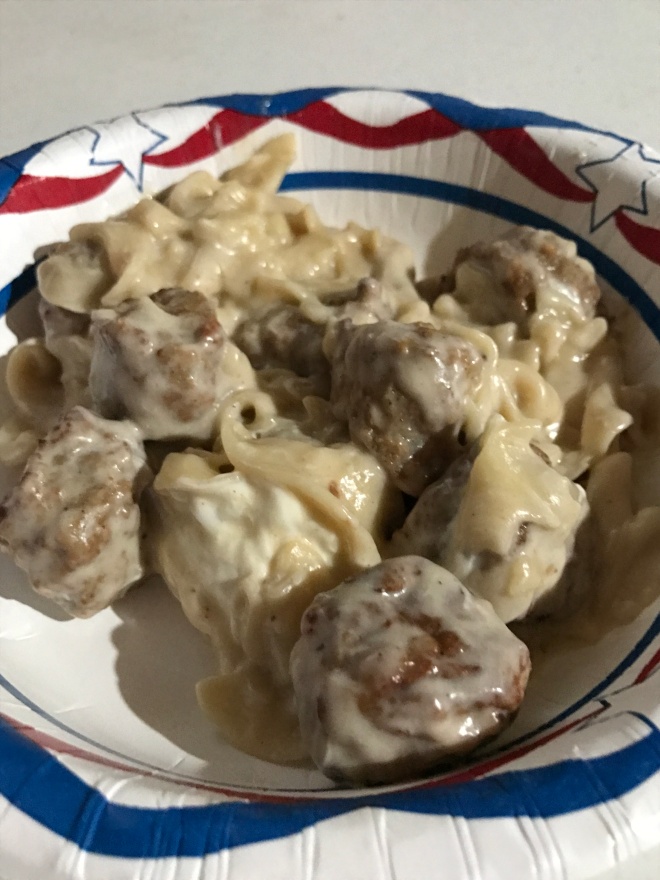
A few nights later, we went Swedish and had some of their meatballs.  And the best part was I didn’t even have to cook the noodles!  Everything was cooked in one pot at the same time! You know what that means?  Daddy got dish duty.  The one thing I would change with this recipe is the cook time.  I didn’t trust the cook time in the recipe I followed, so I upped the amount.  What resulted was overcooked noodles.  But the rest of the recipe was still delicious!  Don’t worry…I adjusted it for you already.

If you’re family is like mine and loves meatballs, try either (or both) of these recipes!  I promise you they’ll be a hit.

img_91781.jpg
Meal #1
Asian Meatballs with Rice
(adapted from this page)

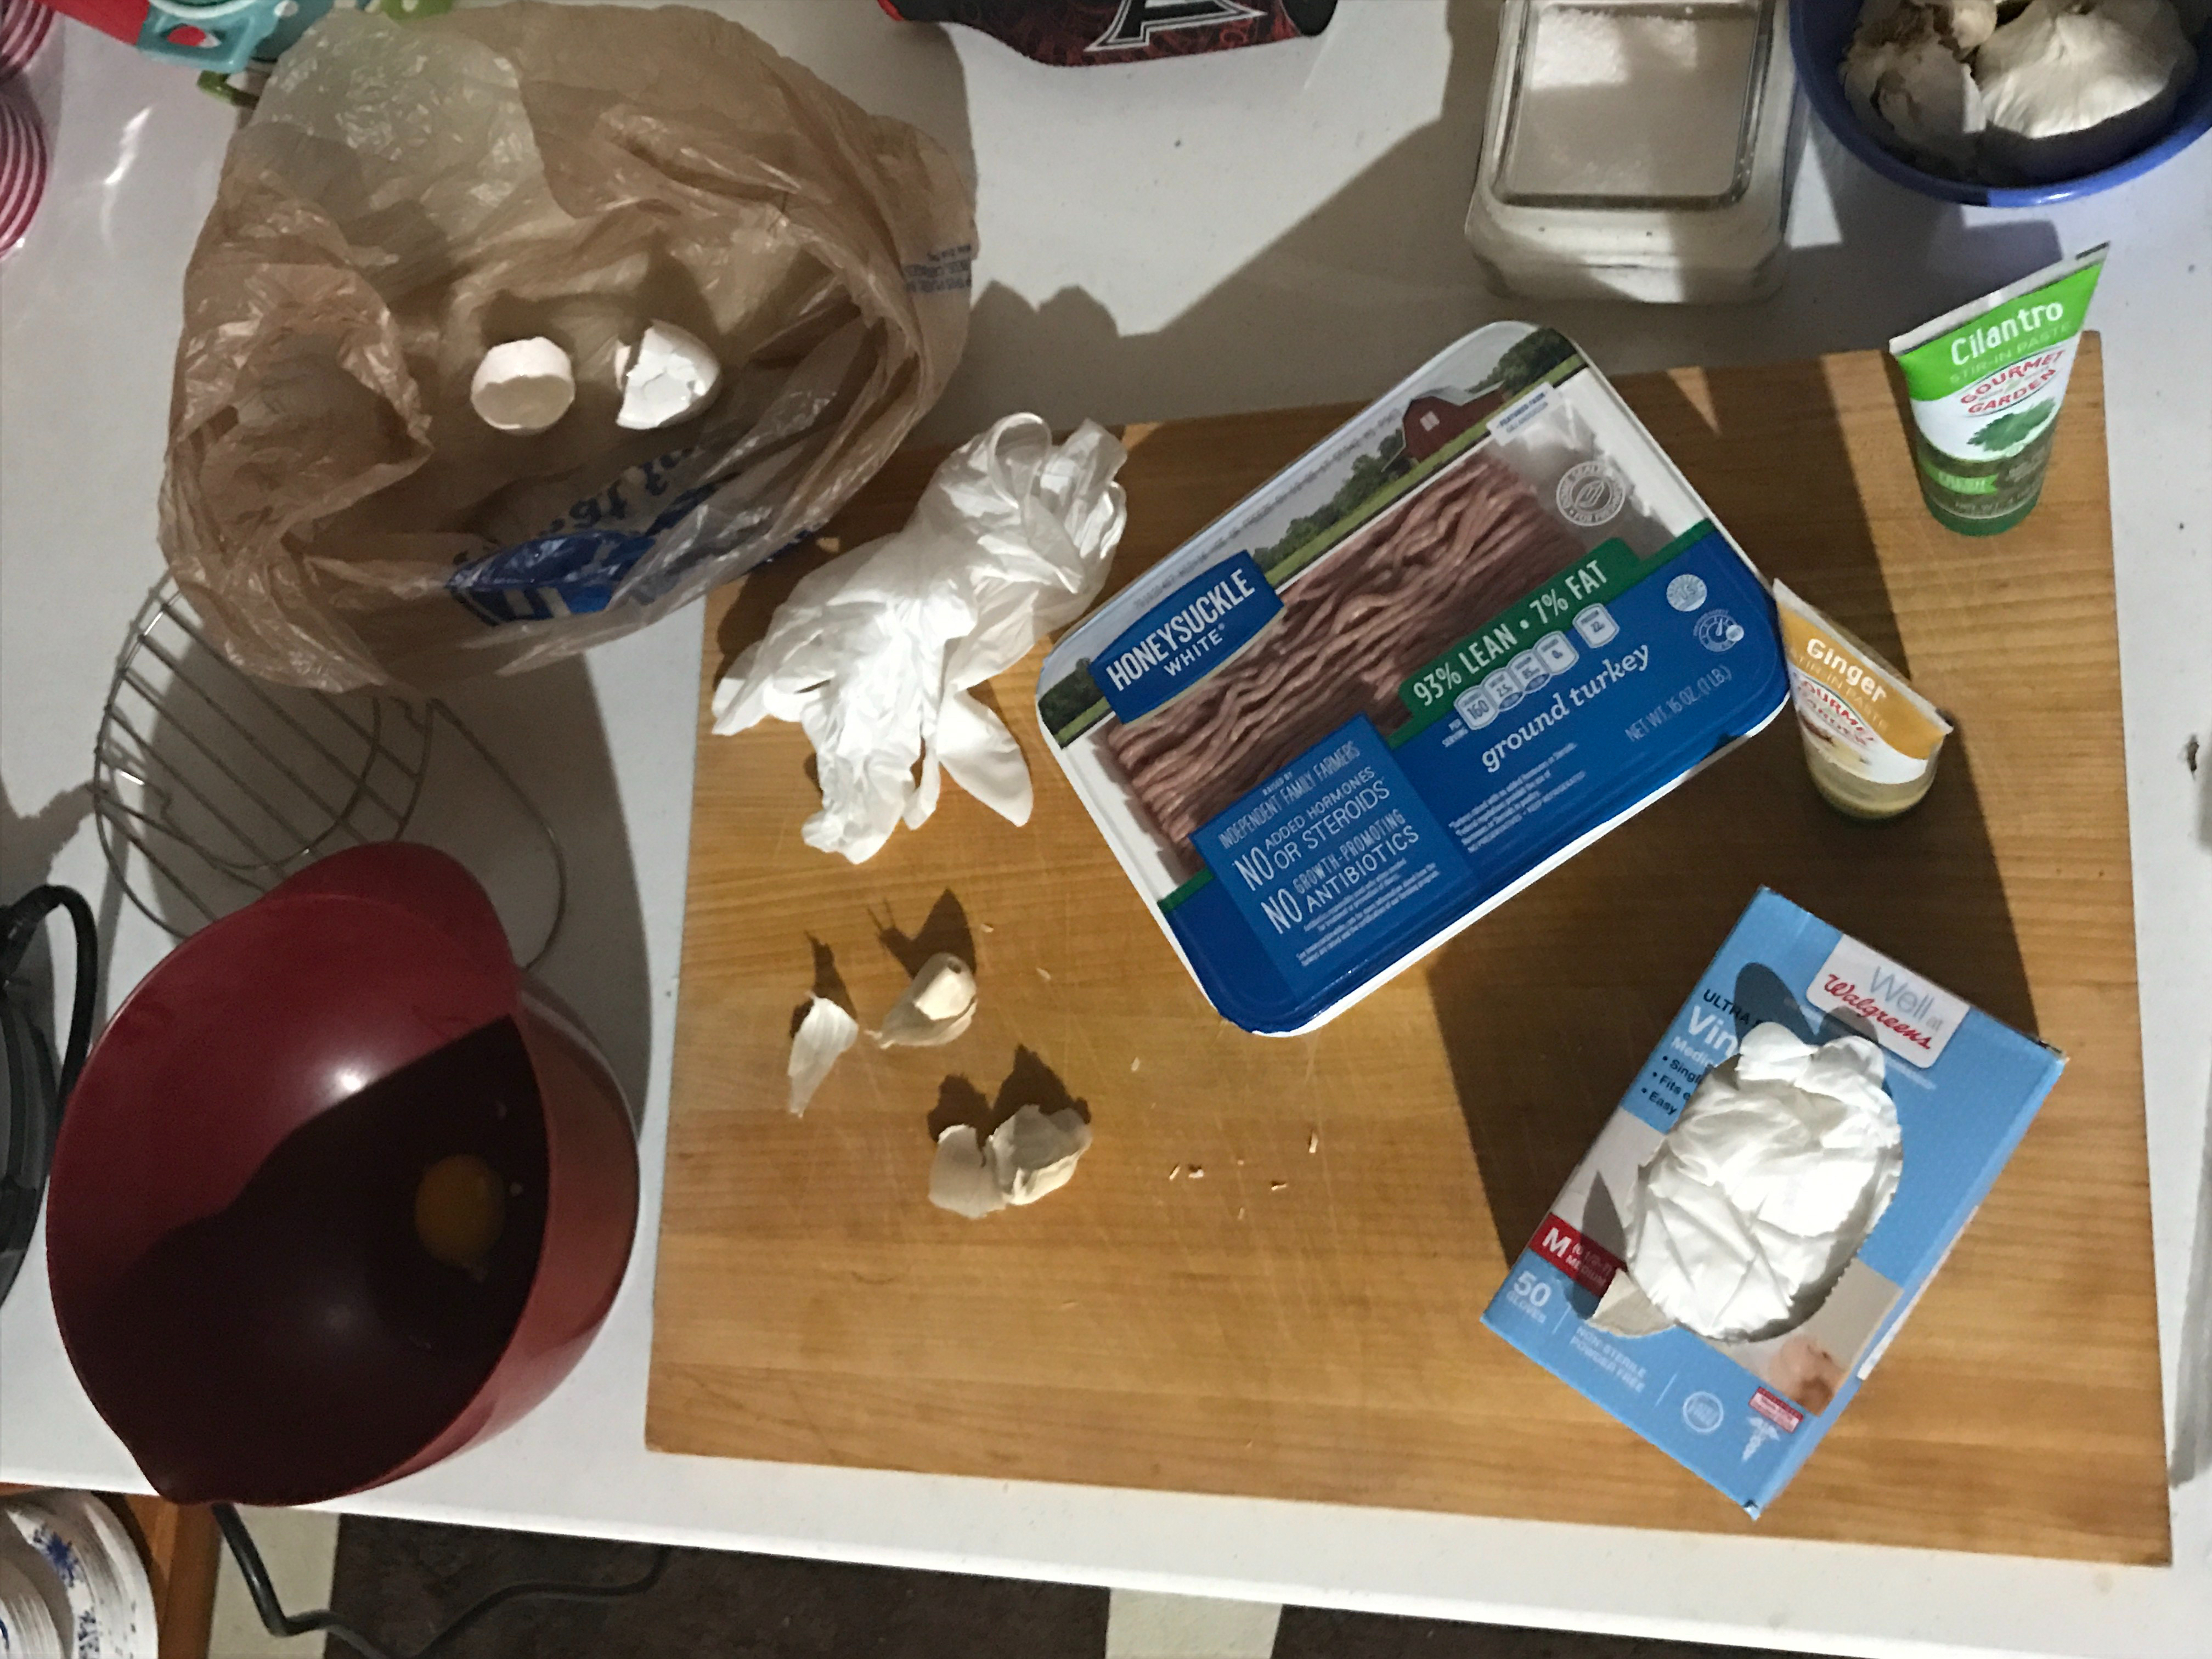
1.25 lbs ground turkey
1 tbsp garlic
1 tsp ground ginger
2 tbsp soy sauce
2 tsp sesame oil
1/3 cup Panko breadcrumbs
1 large egg
1/4 cup chopped cilantro
Honey (optional)
Trader Joe’s brown rice (optional)

Mix all ingredients in a bowl and roll into 1” balls.  Preheat Instant Pot on “saute” and cook your meatballs for 5 minutes, turning to brown each side.  Add ½ cup soy sauce.  Cancel your Instant Pot and hit “manual”.  Add cover to instant pot, making sure the valve is closed.  Choose “manual” high pressure and cook for 15 minutes.

When your pot beeps to let you know it’s done cooking, let the pressure release naturally while you heat up your rice.  In this case, I chose to use Trader Joe’s brown rice because it’s easy.  If you opt to cook your own, it’s best you start both the rice and the meatballs at the same time.

Once your meatballs are finished, drizzle them with honey to sweeten them slightly if you like.  Serve over rice with extra soy sauce or, my favorite, Frank’s Sweet Chili sauce.

I really kick myself for not taking a photo of these meatballs.  We were all so hungry, they vanished before I even thought about it.  The one above is the only one I have so it’ll have to do.

This meal is declared a “freezer meal” on the original page.  You can make all your meatballs ahead of time and throw everything in the pot the night of.  The IP will cook the meatballs from frozen in the same amount of time it cooked the thawed ones.  I don’t know why…I don’t make the rules. (Name that movie, anyone??)

IMG_9220

Meal #2
Swedish Meatballs
(from this recipe)

1.5 cups low sodium beef broth
1/2 cup milk
1 can cream of mushroom soup
16 oz egg noodles
one 24oz bag (frozen & fully cooked) meatballs
1 block cream cheese

Mix the beef broth, milk, and soup in your Instant Pot.  Cover with egg noodles.  Top with meatballs.  Press “manual” and let cook for 8 minutes.  Once the pot beeps, release the pressure.  I like to add a hand towel to the top so it doesn’t splatter soup steam all over.

Once the pressure switch drops, remove lid and mix in your cream cheese.  Serve to hungry boys!

I hope you try these recipes and find something you like!  What is your favorite meatball recipe?


Crispy Parmesan Zucchini

img_9050I have this love/hate relationship with vegetables.  Most of the time, if I’m being honest with myself, I hate them.  At least most of them.  I’m looking at you, broccoli.  I blame my mom and her weekly chicken broccoli casserole for that one.  😉 Love you, mom!
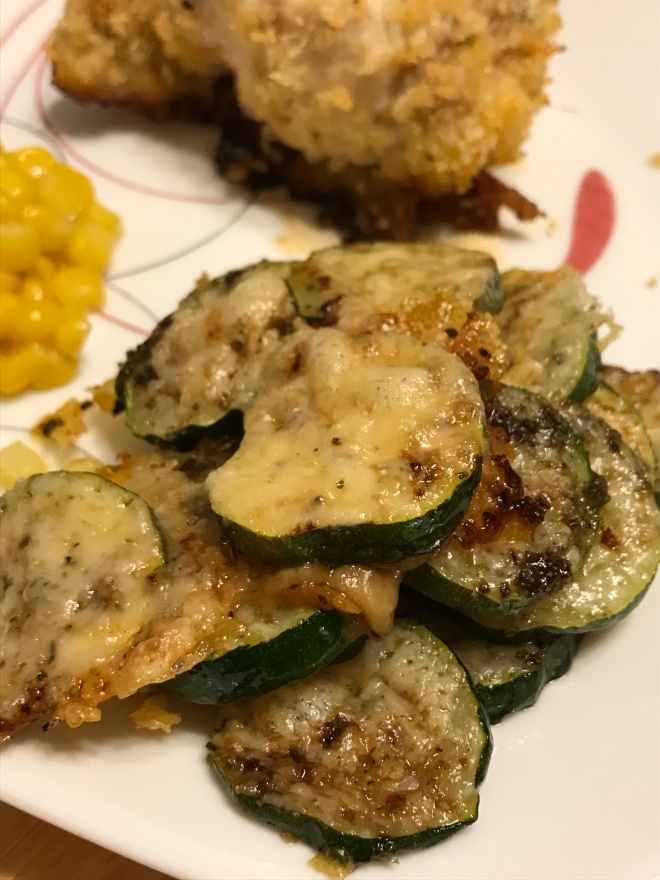
But…when I find a way I love them…I really love them!  I already wrote about my Zucchini Crisps, but since then I have found a new, better, easier way to make zucchini.  A way in which I could eat them every day and not get tired of them!  There are but two ingredients (four if you count salt and pepper) in my little love affair food.

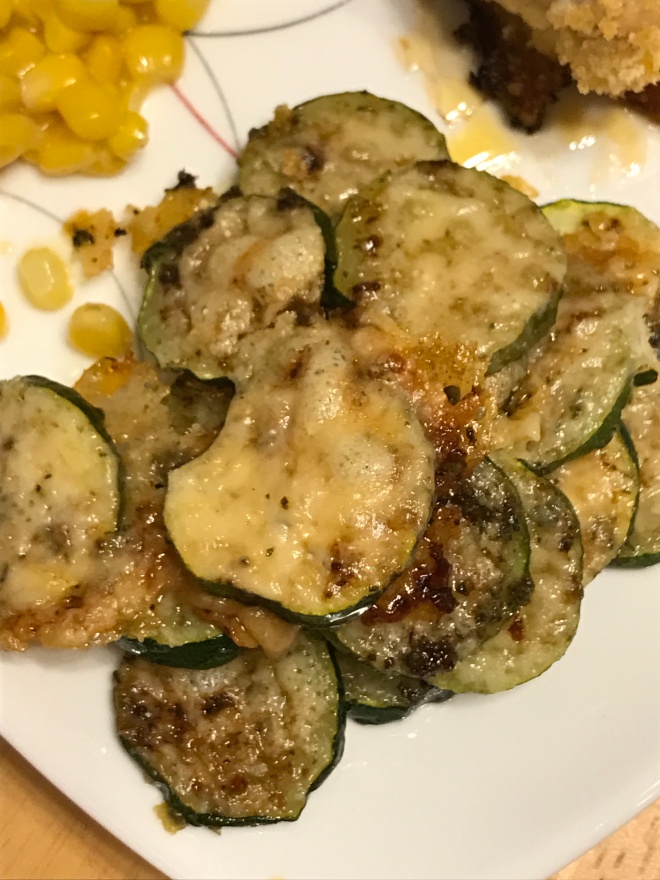
Zucchini and parmesan.  That’s it!  Guys, it’s seriously so good.  And so EASY!  It’s perfect for those busy weeknights when you have to throw a side dish together quickly.

img_9052Crispy Parmesan Zucchini
1 medium zucchini
¼ cup parmesan (give or take)
Salt and pepper
Optional:  other seasonings to give different flavors to the zucchini.  My favorites are Sunny Paris and Sweet Curry from Penzeys

Preheat oven to 400°.  Cut zucchini into ¼-⅛” rounds depending on your preference.  Sprinkle with salt, pepper, and optional seasoning if you desire.

Place rounds on a nonstick cookie sheet.  Sprinkle each round with a generous pinch of parmesan cheese.  Full disclosure, I don’t ever measure so it may or may not be ¼ cup.  I like a small mound of cheese on my zucchini so it melts down and gets all crispy when it cools.

Bake for 10-15 minutes or until the cheese is melted and the zucchini is tender.  I have cooked it for 10 minutes and the zucchini is still a little chewy as well as the 15 minutes, which makes the bottom of the zucchini somewhat more caramelized and crispy.  Either way, it’s a winner!


Caramel Apple Pork Chops

IMG_7488edited

I have this habit of listening to podcasts on my drive to work.  I used to get audiobooks from the library, but they tend to lose my interest because they are several hours long.  I got on the podcast kick a few years ago when I was planning a trip to Disney World.  Yes, there are podcasts about Disney World.  Good ones, in fact.

Speaking of good podcasts, have you listened to Serial?

Serial is a podcast from the creators of This American Life, and is hosted by Sarah Koenig. Serial tells one story – a true story – over the course of an entire season.” – http://serialpodcast.org/

Anyhow, obviously I’m into cooking, so I began looking for a podcast that talked about my favorite subject.  That’s when I found The Splendid Table“the show about life’s appetites.” Since then, I’ve been listening to this podcast pretty regularly.  They tend to talk about seasonal cooking, so here recently it’s been all about apples, butternut squash, and comfort food.

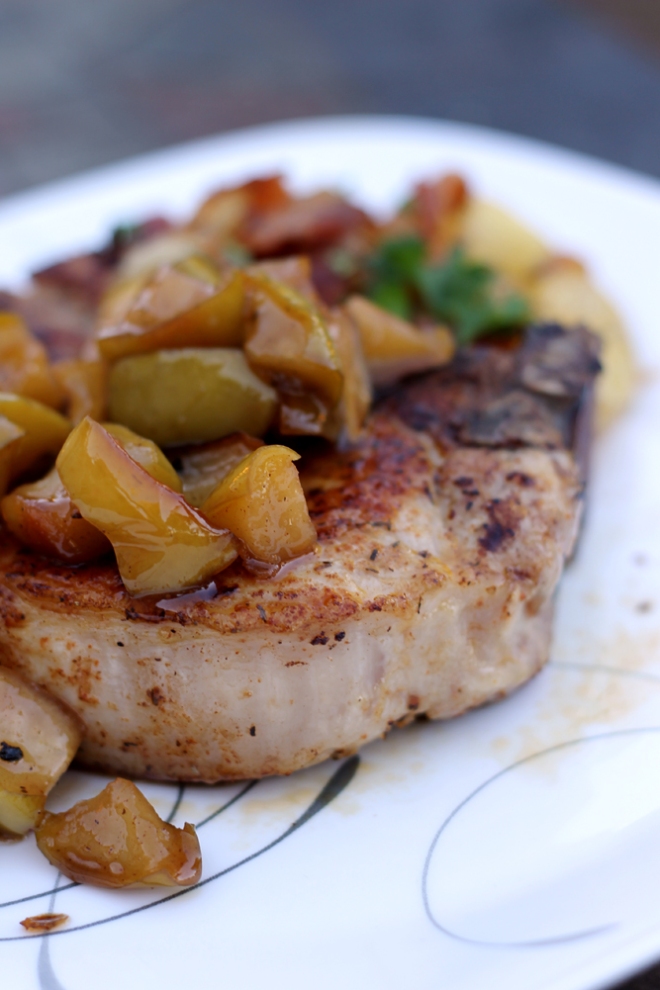
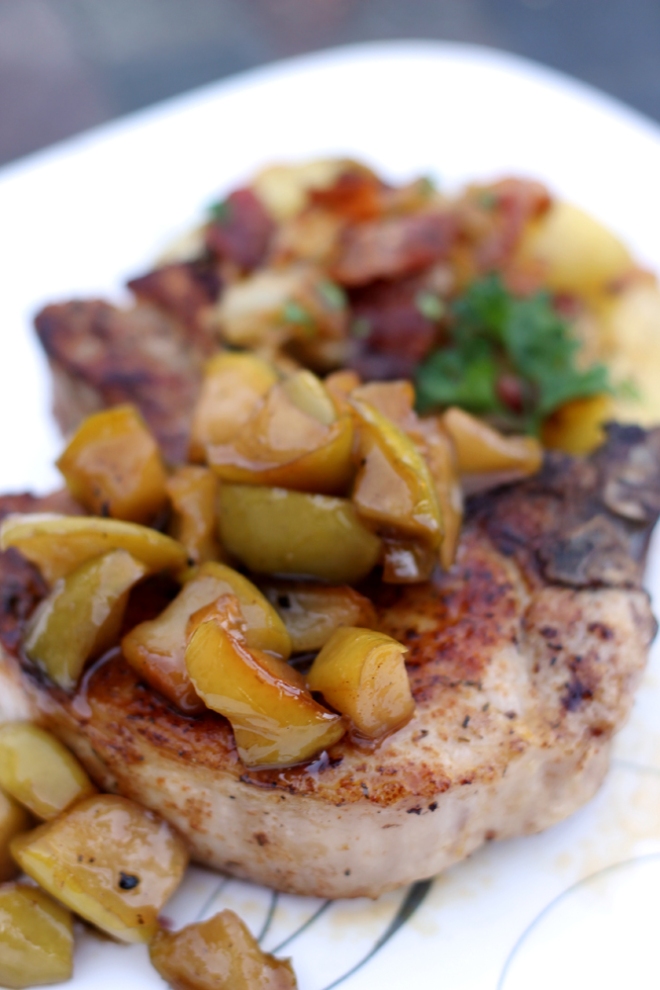
This got me thinking…I need to cook with apples more.  I love apples, but I rarely use them in my cooking.  Why?  Who the heck knows.  After a quick search of my favorite website, allrecipes.com, I came across a recipe for caramel apple pork chops.  I love caramel, I love apples, and I love pork chops if cooked the correct way!

IMG_0319editedToday was the perfect day to make this dish.  It was a gorgeous fall day outside, with the air slightly crisp and the sun shining.  Jeff and I both loved the dish.  As for Jake…well…he liked the raspberries I gave him.  😐

IMG_7490editedCaramel Apple Pork Chops
(adapted from this recipe)

2 thick cut pork chops
salt & pepper to taste or meat seasoning such as Penzey’s Northwoods Fire Seasoning
2 Granny Smith apples, peeled and chopped (can substitute other tart apples)
2 tbsp brown sugar
1/8 tsp ground cinnamon
1/8 tsp ground nutmeg
2 tbsp unsalted butter
1 tsp vegetable oil*
Boursin cheese (optional)

Remove pork chops from fridge, sprinkle with seasoning of your choice, and let come to room temperature as you prepare the rest of the dish.

Combine apples, brown sugar, cinnamon, nutmeg, and butter in a medium saucepan.  Cook over medium low heat until apples are tender, stirring occasionally.  Mine took about 20 minutes to get to the consistency I wanted.  Full disclosure:  I forgot to peel my apples.  Learn from my mistake…peel yours.

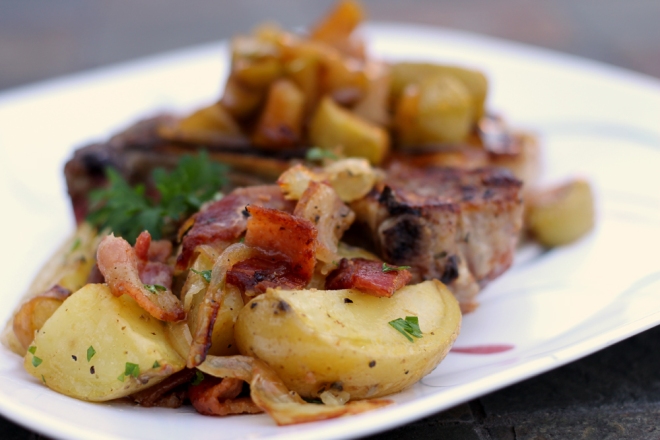
IMG_7494editedAfter apples have been cooking for approximately 10 minutes, heat a large skillet over medium heat.  Add the vegetable oil (*or in my case bacon grease as I was also making my Warm Potato Salad) to the pan.  Cook pork chops on medium heat for about 5 minutes per side or until internal temperature is 145º.  I like using a meat thermometer with my pork and beef because I tend to overcook it and my guy hates overcooked meats.

Remove from pan when pork chops are cooked and let sit for about 5 minutes.  To serve, top with caramelized apples.

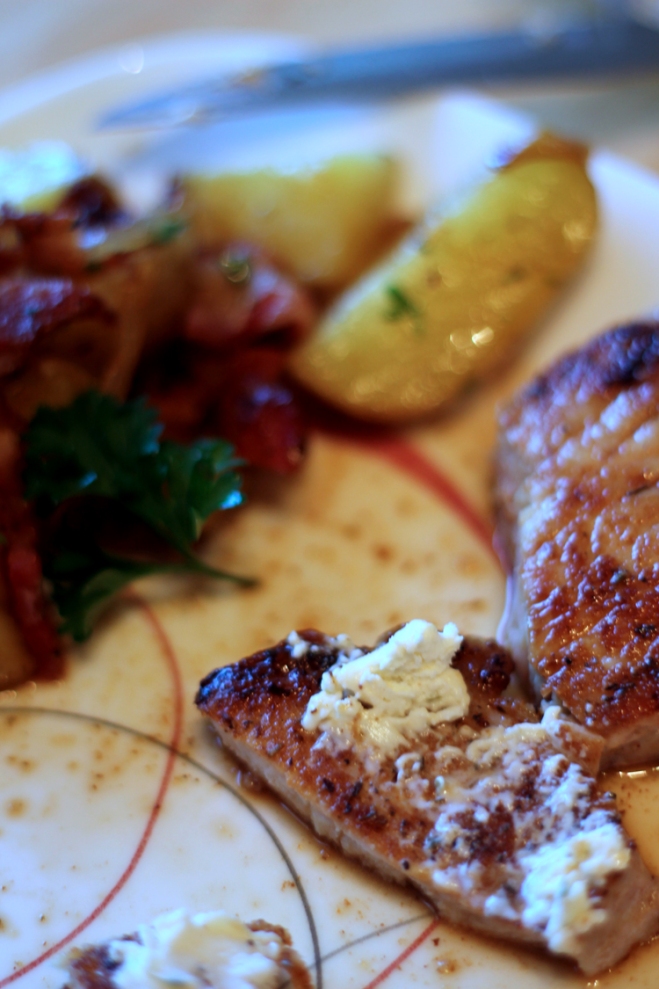
Well, here’s what happened when I served the dish.  Jeff ate the pork with the apples and said it was just OK but it was missing something.  When asked what he thought it needed, he said he wasn’t sure but maybe “something creamy like cheese but also a little tangy?  I don’t know…”  My quick thinking produced the remains of the Boursin cheese I’d purchased for my Harvest Salad.  He added a little touch of the cheese to the pork and he could not quit raving about the dish.

IMG_7498editedSo to sum up…add some Boursin.  Everything’s better with cheese, right? (Ignore the crappy picture…I was too excited to eat to worry about composition of this photo.)

And just because he’s so stinkin’ cute, here are a couple pictures of my little guy from this weekend.  Can you believe he’ll be FOUR in two months???  #slowdownkid

IMG_0290edited IMG_0269edited IMG_0277edited IMG_0316edited

Brownie Buckeyes

I’ve lived in Ohio for 10 years this May.  One of the first things I learned when moving here was their state “treat”:  The Buckeye.  Buckeyes, for those of you who are not fortunate enough to know, are delicious balls of peanut butter and powdered sugar hugged by a thin layer of yummy chocolate.  They are quite possibly my favorite treat in the entire world next to brownies.

Buckeye Brownies 2

So imagine my lust when my coworker showed me a picture of what I can only describe as the love child of a brownie and a buckeye.  Buckeye Brownie Cookies.

“You or Barb should make these” was all the text read.  One look and I was hooked.  Since our store was having a carry in soon, I mentally penciled these cookies in as a surprise treat for my team.

If you like peanut butter, brownies, cookies, or anything in between, make these.  They are epic.

Buckeye Brownies 3

Brownie Buckeyes
(from this recipe)

1 family size package brownie mix
1 egg
1/4 stick butter, melted
4 oz cream cheese, softened
1 cup powdered sugar
1 cup peanut butter
4 oz candy chocolate (that stuff in the block near the chocolate chips)

Preheat the oven to 350*.  In a bowl, combine the brownie mix, egg, butter, and cream cheese until well mixed.  Using a medium scoop (approximately 1.5 tbsp), scoop the mixture onto a cookie sheet lined with a silpat AND sprayed lightly with cooking spray.  Yes, they are that sticky.  You should get almost exactly 24 cookies.  Bake for 12 minutes.

Meanwhile, mix up your “buckeye” layer.  Combine the peanut butter and powdered sugar until well mixed.  Using a small scoop (approximately 2 tsp), scoop the mixture into 24 balls and set aside.

When you take your cookies out of the oven, you’ll want to immediately top with your peanut butter mixture.  I flattened the PB balls out in my hand to make a disc, then placed that over the cookie.  Let these cool completely.

After your cookies are cooled, you can top with your chocolate later.  Melt 4 ounces of candy chocolate in the microwave on 30 second increments, stirring in between.  It should only take 1-1.5 minutes.  Spoon or pipe your chocolate on top of the peanut butter.  Let them sit until the chocolate layer is hardened.

Buckeye Brownies

Try not to eat them all in one sitting.  I dare you.

Double Chocolate Brownies

Double Chocolate Brownies 1

Last year, my husband was informed that he would need to start traveling for work.  His company’s parent is located in Amsterdam, so he boarded a plan and crossed the pond for the first time in his life.  I wasn’t jealous.  I swear.

Jake and I stayed behind and did our best to pass the time while Daddy was away.  To make the separation a little sweeter, Jeff brought me back a tin of Belgium cocoa that was the best, most delicious cocoa I have ever tasted in my life.  Within days of him being home, I was in the kitchen trying to decide what to use my new cocoa in.

I opted for my favorite dessert of all time:  brownies.  Double chocolate brownies to be exact.

I have made these brownies a few times over the past year and have informed Jeff that every time he goes to Amsterdam, he is to purchase at least one tin of cocoa.  If he wants to continue to have these brownies, that is.

Double Chocolate Brownies 3

For Valentine’s Day, my little cooking buddy and I whipped up a batch of these brownies as Daddy’s Valentine’s Day present.  We also shared some with Jeff’s parents as a thank you for watching Jake as we went to dinner at J. Alexander’s.  (Side note:  avoid that place on Valentine’s Day.  Unless you don’t mind waiting 3 hours for a table.  The sad part?  We even called ahead.)

Later on, Jeff’s mom told him the brownies we gave her were the best brownies she’d ever had.  That says a lot because we live right down the road from a grocery store who is famous for their Killer Brownies!

The next time you want to make something delicious for a loved one, try these brownies.  They’re simple, easy, and insanely good.  Just be warned you may not be able to get rid of that person after.

Double Chocolate Brownies 2

Double Chocolate Brownies
(from allrecipes.com)

1 cup butter, melted
3 cups sugar
1 tbsp vanilla
4 eggs
1 1/2 cups all purpose flour
1 cup unsweetened cocoa
1 tsp salt
1 cup semisweet chocolate chips

Preheat oven to 350*.  Prepare a 13×9 pan with cooking spray.

In a large bowl, mix butter, sugar, and vanilla.  Add eggs one at a time until combined.  Add in the flour, cocoa, and salt until mixed well.  Stir in the chocolate chips.  Spread evenly in the pan.

Bake for 35 to 40 minutes or until a toothpick comes out clean.

Double Chocolate Brownies 4

Mini Mexican Pizzas

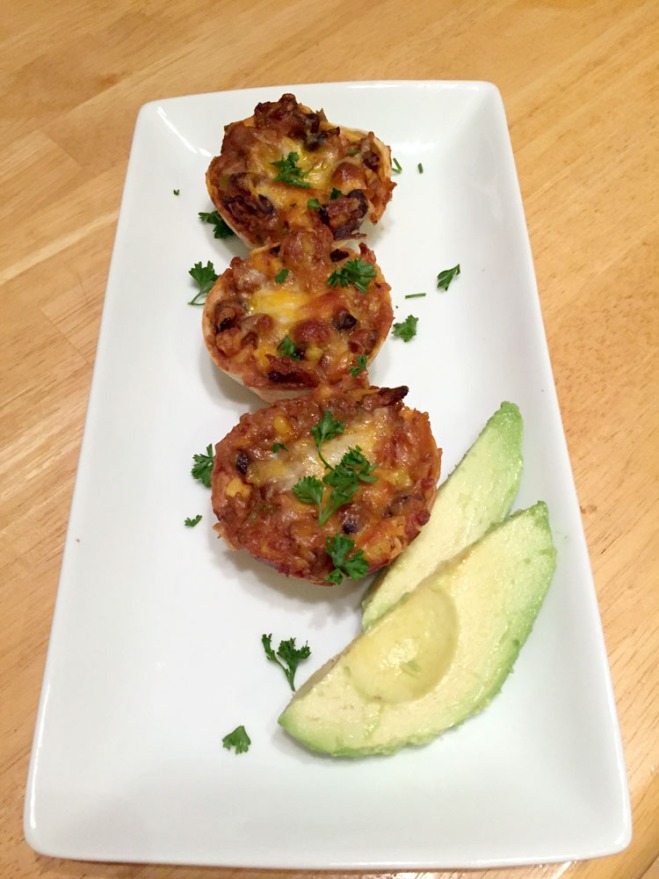
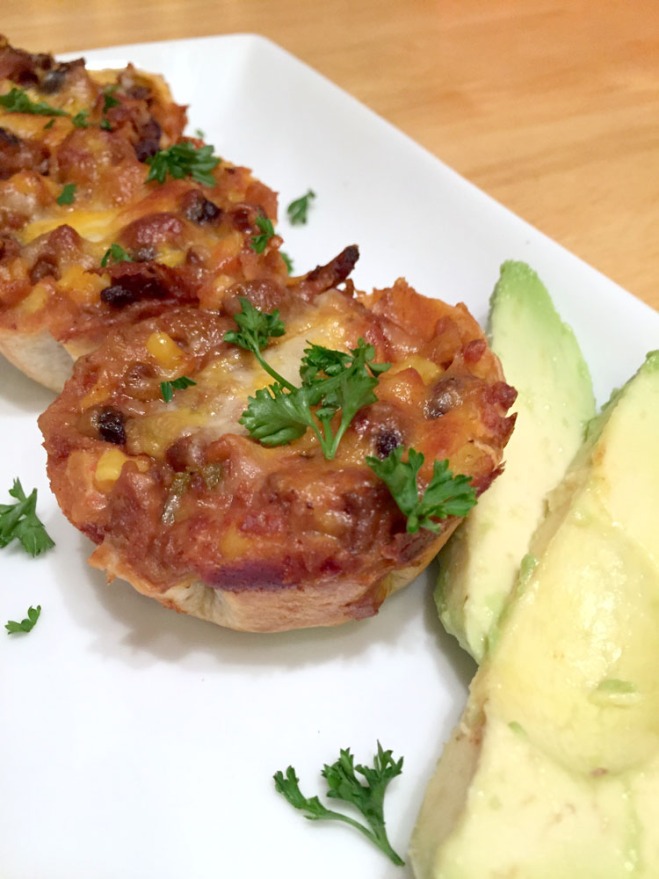
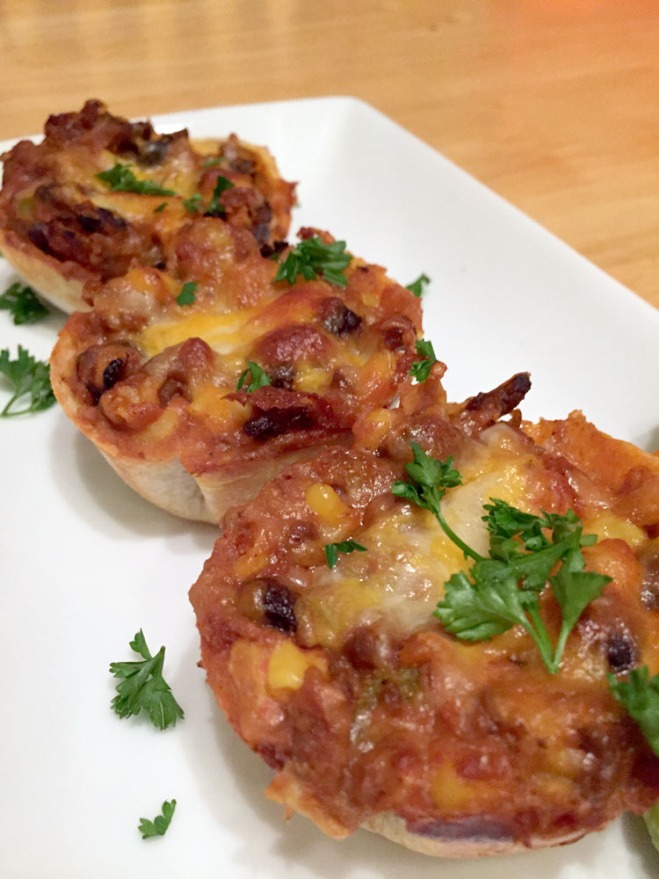
Mini Mexican Pizzas 5 EditedI have a weakness for Mexican food.  The cheese, the spicy flavors, the deliciously seasoned meats.  What’s not to love?  I also have a weakness for meals I can prep ahead of time and keep in my fridge or freezer for those nights where I’m racing the clock to get dinner on the table.

Last month, during Retail Crunch Time 2014 (otherwise known as Christmas), I threw these little babies together really quick one night and popped them in the oven.  They were delicious!  Neither Jeff nor I could believe how yummy they were!

Plus everything is better in mini, right?

(Sorry it took me so long to get this one up, Mrs. Linda!)

Mini Mexican Pizzas Edited

Mini Mexican Pizzas
(adapted from this recipe)

5-6 large whole wheat tortillas
1 cup lean ground turkey or beef, browned and drained
1/2 cup salsa (I like Kroger’s version of Tostitos salsa)
1/2 packet dry taco seasoning
1/2 can whole kernel corn, drained
1/2 can black beans, drained and rinsed
1/2 can refried beans
1/2 cup shredded cheddar or Mexican blend cheese
Optional:  black olives, chopped tomatoes, shredded lettuce, sour cream

Preheat oven to 425*.  Spray muffin tins with nonstick cooking spray.  I believe this recipe made 18, but I can’t be positive.

Lay out your tortillas on a flat surface and cut out rounds to fit your muffin tins.  I want to say I ended up going with a 3″ diameter round that fit in my muffin tins but as it was over a month ago and my brain isn’t quite as young as it used to be, I’m having a tough time remembering.  Some blogger I am…

Press each round into the muffin tins.  They don’t have to be perfect or even go all the way up each side.  They just have to cover a decent amount of the surface area of the muffin tins.

In a small bowl, combine your turkey or beef, salsa, taco seasoning, corn, black beans, and refried beans.  Stir to combine.  Scoop about 1/8th of a cup of the filling into each cup.  Top with cheese (divided equally) and bake in preheated oven for 12-15 minutes or until the cheese has melted and everything is warmed through.

Serve with toppings if you choose.

Mini Mexican Pizzas 4 Edited

My favorite part of this recipe was how the tortillas got a little crispy on the bottom.  Mmm…this are definitely going on next week’s cooking list!

Zucchini Crisps

Zucchini Crisps

I like to think I’m a veggie eater but in truth they’re not the first thing I go for.  Or the second thing.  Or even the third thing most of the time.  Until now.

Once upon a time, when I would go to the grocery store, I would pass by the zucchini and squash without a second glance.  Every so often one of them would make it into my cart and end up roasting in the oven or on the grill brushed with a little olive oil and some herbs, but 9 times out of 10, I just kept on rolling.

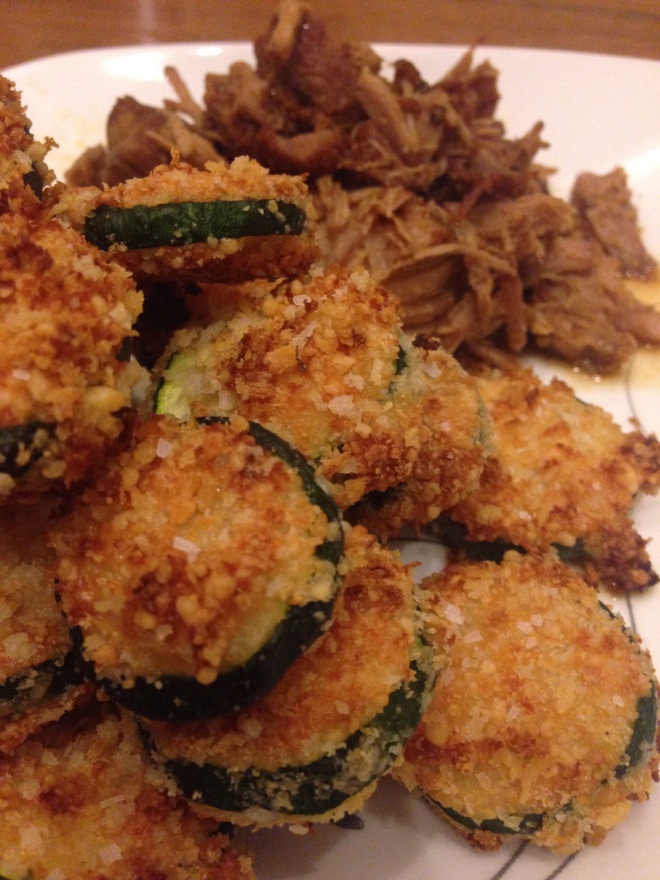
Ever since Heather posted a picture of her zucchini crisps on Facebook, rarely a grocery trip goes by that a zucchini doesn’t find it’s way into my cart.  These crisps are simple, easy, and sooo yummy.

“Fried” Zucchini Crisps
(adapted from several recipes)

1/2 cup all purpose flour
2 egg whites, beaten until frothy
1/2 cup parmesan cheese
1/2 cup panko bread crumbs
salt and pepper
Penzey’s Sunny Paris seasoning (or any seasoning of your choice)
1 zucchini, sliced into rounds about 1/4″ thick

Preheat oven to 450º.  In a gallon Ziploc bag, add your flour.  Place your eggs in a shallow bowl.  Sprinkle your zucchini with the salt, pepper, and seasonings on both sides and add to the flour bag.  Shake to coat lightly then pull out and put in the egg whites.  You’ll want to shake off any excess flour before dunking in the whites.  I threw the entire contents of the bag into a colander and shook the excess off.

Add your panko and Parmesan cheese to the empty Ziploc bag.  Combine well then add your floured and egg washed zucchini back into the bag.  Once again shake to coat.  Pull out and put on a baking sheet lined with a Silpat or sprayed with cooking spray.

Cook at 450º until crisp, about 25 minutes.

The thinner you make your crisps, the less veggie-ish they taste, so if you don’t really care for the flavor of zucchini, make them 1/4″.  If you don’t mind the flavor of zucchini, you can go a little wider, like 1/2″.  Enjoy!

Ultimate Pulled Pork

Ultimate Pulled Pork | One Girl's Taste on Life

I have a new favorite Food Network show.  Have you met Damaris Phillips?  Damaris, a Louisville, Kentucky native, was the winner of Food Network Star, Season 9.  Now, I didn’t watch that show, but I tend to spend Saturday and Sunday mornings going through the list of Food Network shows as this is when the new cooking shows air.

One day, I happened upon a show called Southern at Heart.  I’m southern at heart…sort of (I grew up in Tennessee)…so I set it to record and went on my merry way.  Well, I don’t remember what Damaris made on the show that morning, but I do know I was charmed the minute she started talking.  With her southern drawl, her quirky behavior, and her passion for somewhat unique ingredients (coconut oil, sorghum, agave nectar), I was hooked.  I’ve made a couple things of hers including Fried Chicken Salad sandwiches (recipe to come) and I’ve never been disappointed.

I’m always looking for a good pulled pork recipe because pork is relatively low in fat and calories and can be made into sandwiches, tacos, or piled on sweet potatoes.  She made a pulled pork recipe on her Football Tailgating episode in November, so I added the recipe to my weekly food list and headed out to the store.

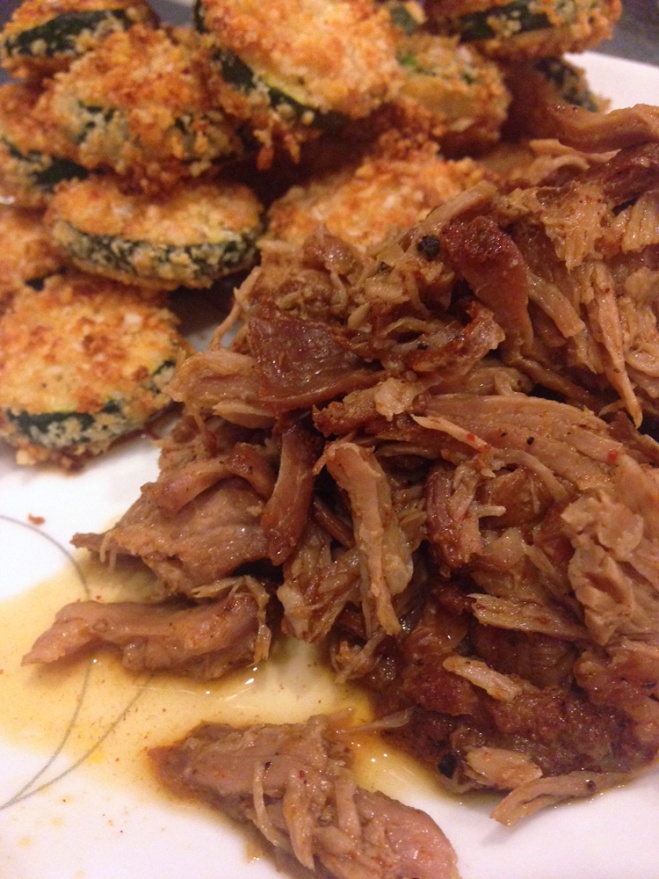
The entire day, I kept smelling the pork.  It smelled good.  I was not disappointed.  I practically ate the whole roast before it had even cooled!  If you’re looking for a delicious, healthy pork recipe, add this to your list.

Ultimate Pulled Pork | One Girl's Taste on Life

Ultimate Pulled Pork
(adapted from Damaris Phillips’ Pulled Pork Nachos)

2 tbsp chili powder
2 tsp garlic powder
1 tsp smoked paprika
1/2 tsp ancho chile powder
1/2 tsp Italian seasoning
2 small or 1 large bay leaf
salt & pepper
3 pounds boneless pork butt, cut into smaller pieces
One large onion, diced
1/2 cup honey
1/4 cup vegetable oil
1/4 cup sherry vinegar
1 tsp liquid smoke

In a medium sized bowl, combine the chili powder, garlic powder, paprika, chile powder, Italian seasoning, salt, and pepper.  Set aside.  Put your diced onion into the bottom of the crock pot to create a base for the pork to sit on.

Trim your pork of most of the fat.  I didn’t do this the first time, and I kept finding big chunks of fat amid my delicious pork.  To quote Alton…not good eats.  Damaris suggested cutting the pork butt into more manageable pieces, so that’s what I did.  Once your pork is prepped, dredge in the seasonings and place in the slow cooker.

Next, combine the honey, oil, vinegar, and liquid smoke until mixed.  Pour over the pork.  Set your slow cooker to low and let cook for 6-8 hours.  Remove from liquid and shred with two forks.

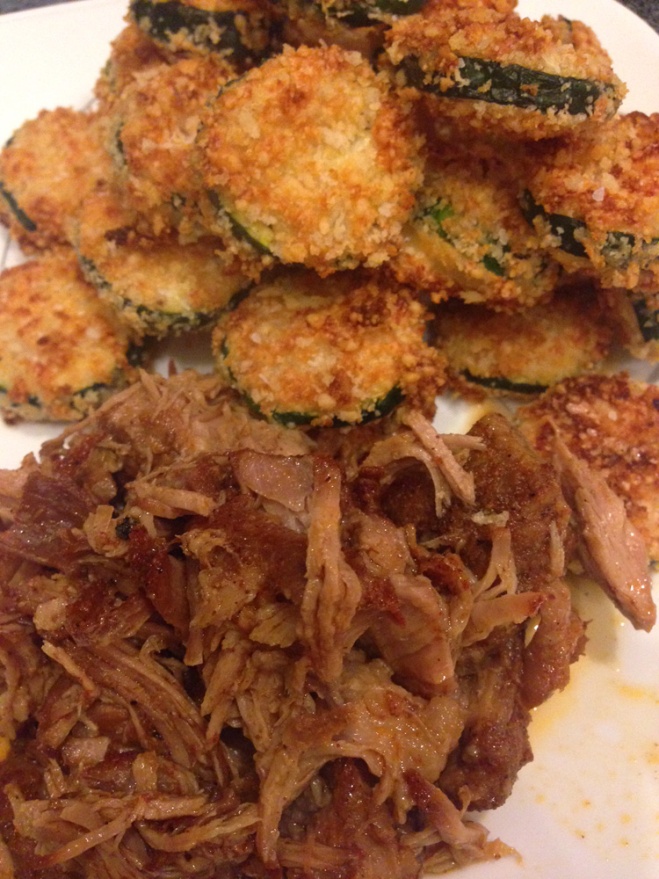
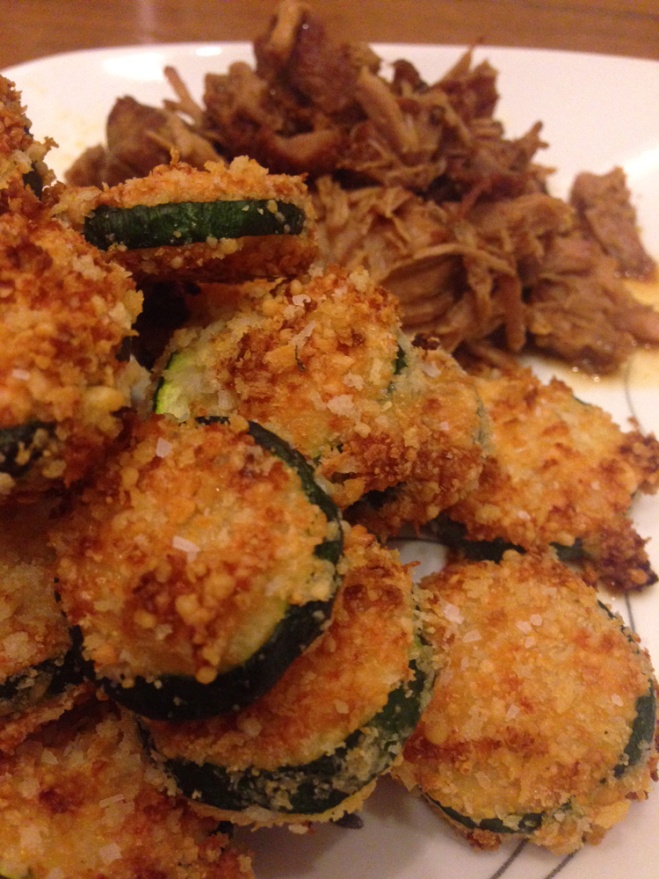
This pork is very versatile, but my favorite way to eat it is just alongside Oven Fried Zucchini Medallions.  They’re the perfect side dish to this meal.  Stay tuned!

Ultimate Pulled Pork | One Girl's Taste on Life