I’ve been waiting for this day for a long time. It’s really nerve-racking when your not that great at decorating and you’re forced to choose all the materials for your kitchen months in advance of the renovation. Luckily, our designer has a pretty good eye and could tell what I wanted after we spoke with her for an hour or two.
We knew we wanted brown cabinets…apparently a huge deviation from the white ones that are so popular these days. Call me old school, but I hate white cabinets. So hard to keep clean and just not warm enough for me. Jeff and I wanted a warm, inviting environment and, to me, that meant Italian-inspired.
After we picked out the brown cabinets, we chose the countertops and floors. Speaking of countertops, we should be having them installed this week! Here’s a sneak peak of what that material looks like:
 The first tile Carrie, our designer, picked for us was OK, but the matching subway tile was too big for what we were looking for. We poked around the showroom looking for exactly what we wanted and, finally, we found it! It was gorgeous. Cream colored, with brown veining throughout, it was perfect. It had that old world charm and just modern enough to fit what we were looking for.
 Tom, our contractor, called me on Thursday morning to talk about a couple things and then let me in on the news: our floors were being installed that day! He told me there would be areas we wouldn’t be able to walk on, but which would be clearly marked. Unfortunately, it was my late day at work, so knew it would be a long time before I saw the results.
That evening, Jeff called me, frustrated. Apparently, they had laid the tile in rows instead of staggered like you normally see tile.
Our tile is like the top left diagram. We were expecting 50% offset like the top right. I was talking with a coworker who informed me that that was an option but we had to specify it was what we wanted. Jeff and I were a little annoyed because we were never asked what our preference was. I told Jeff to pull the contract to see if it specified in there, which he did. Wouldn’t you know it…it says straight in the contract. Actually it says “pattern: none”. Regardless, neither of us remember them asking us what we’d like. Fortunately, we still like it enough. Honestly, it doesn’t really matter if we do or don’t…we’re stuck with it!
They did 80% of the floor Thursday and came back to finish the rest on Friday. They also installed our washer and dryer Friday. Thank goodness because the laundry was starting to pile up!! Three guesses what I did all weekend…
 They added door pulls to the cabinets too. I love them! They look silverish in this picture, but they are more bronze-y in real life.
 Oh, and they plumbed for our kitchen sink. I’m so ready to not have to do dishes in Jake’s bathroom!
 Finally, on Friday, they installed our new sliding patio door. It arrived with a chip in the handle but Jeff called and took care of that in minutes. Our new handle is on the way! I really like our new door. It has internal blinds, which means we won’t have to have curtains in our kitchen!
Two weeks down and two to go, supposedly. Fingers crossed they finish on time! It’s really not a super big deal if they don’t…I’m just anxious to start cooking in my new kitchen!
 Monday
 Tuesday
 Wednesday
 Special PSA about the Instant Pot: if you’re a busy mom or new to cooking or a retired person or if you like to eat in general, you need an Instant Pot. Let me repeat. You NEED an Instant Pot. You can order it
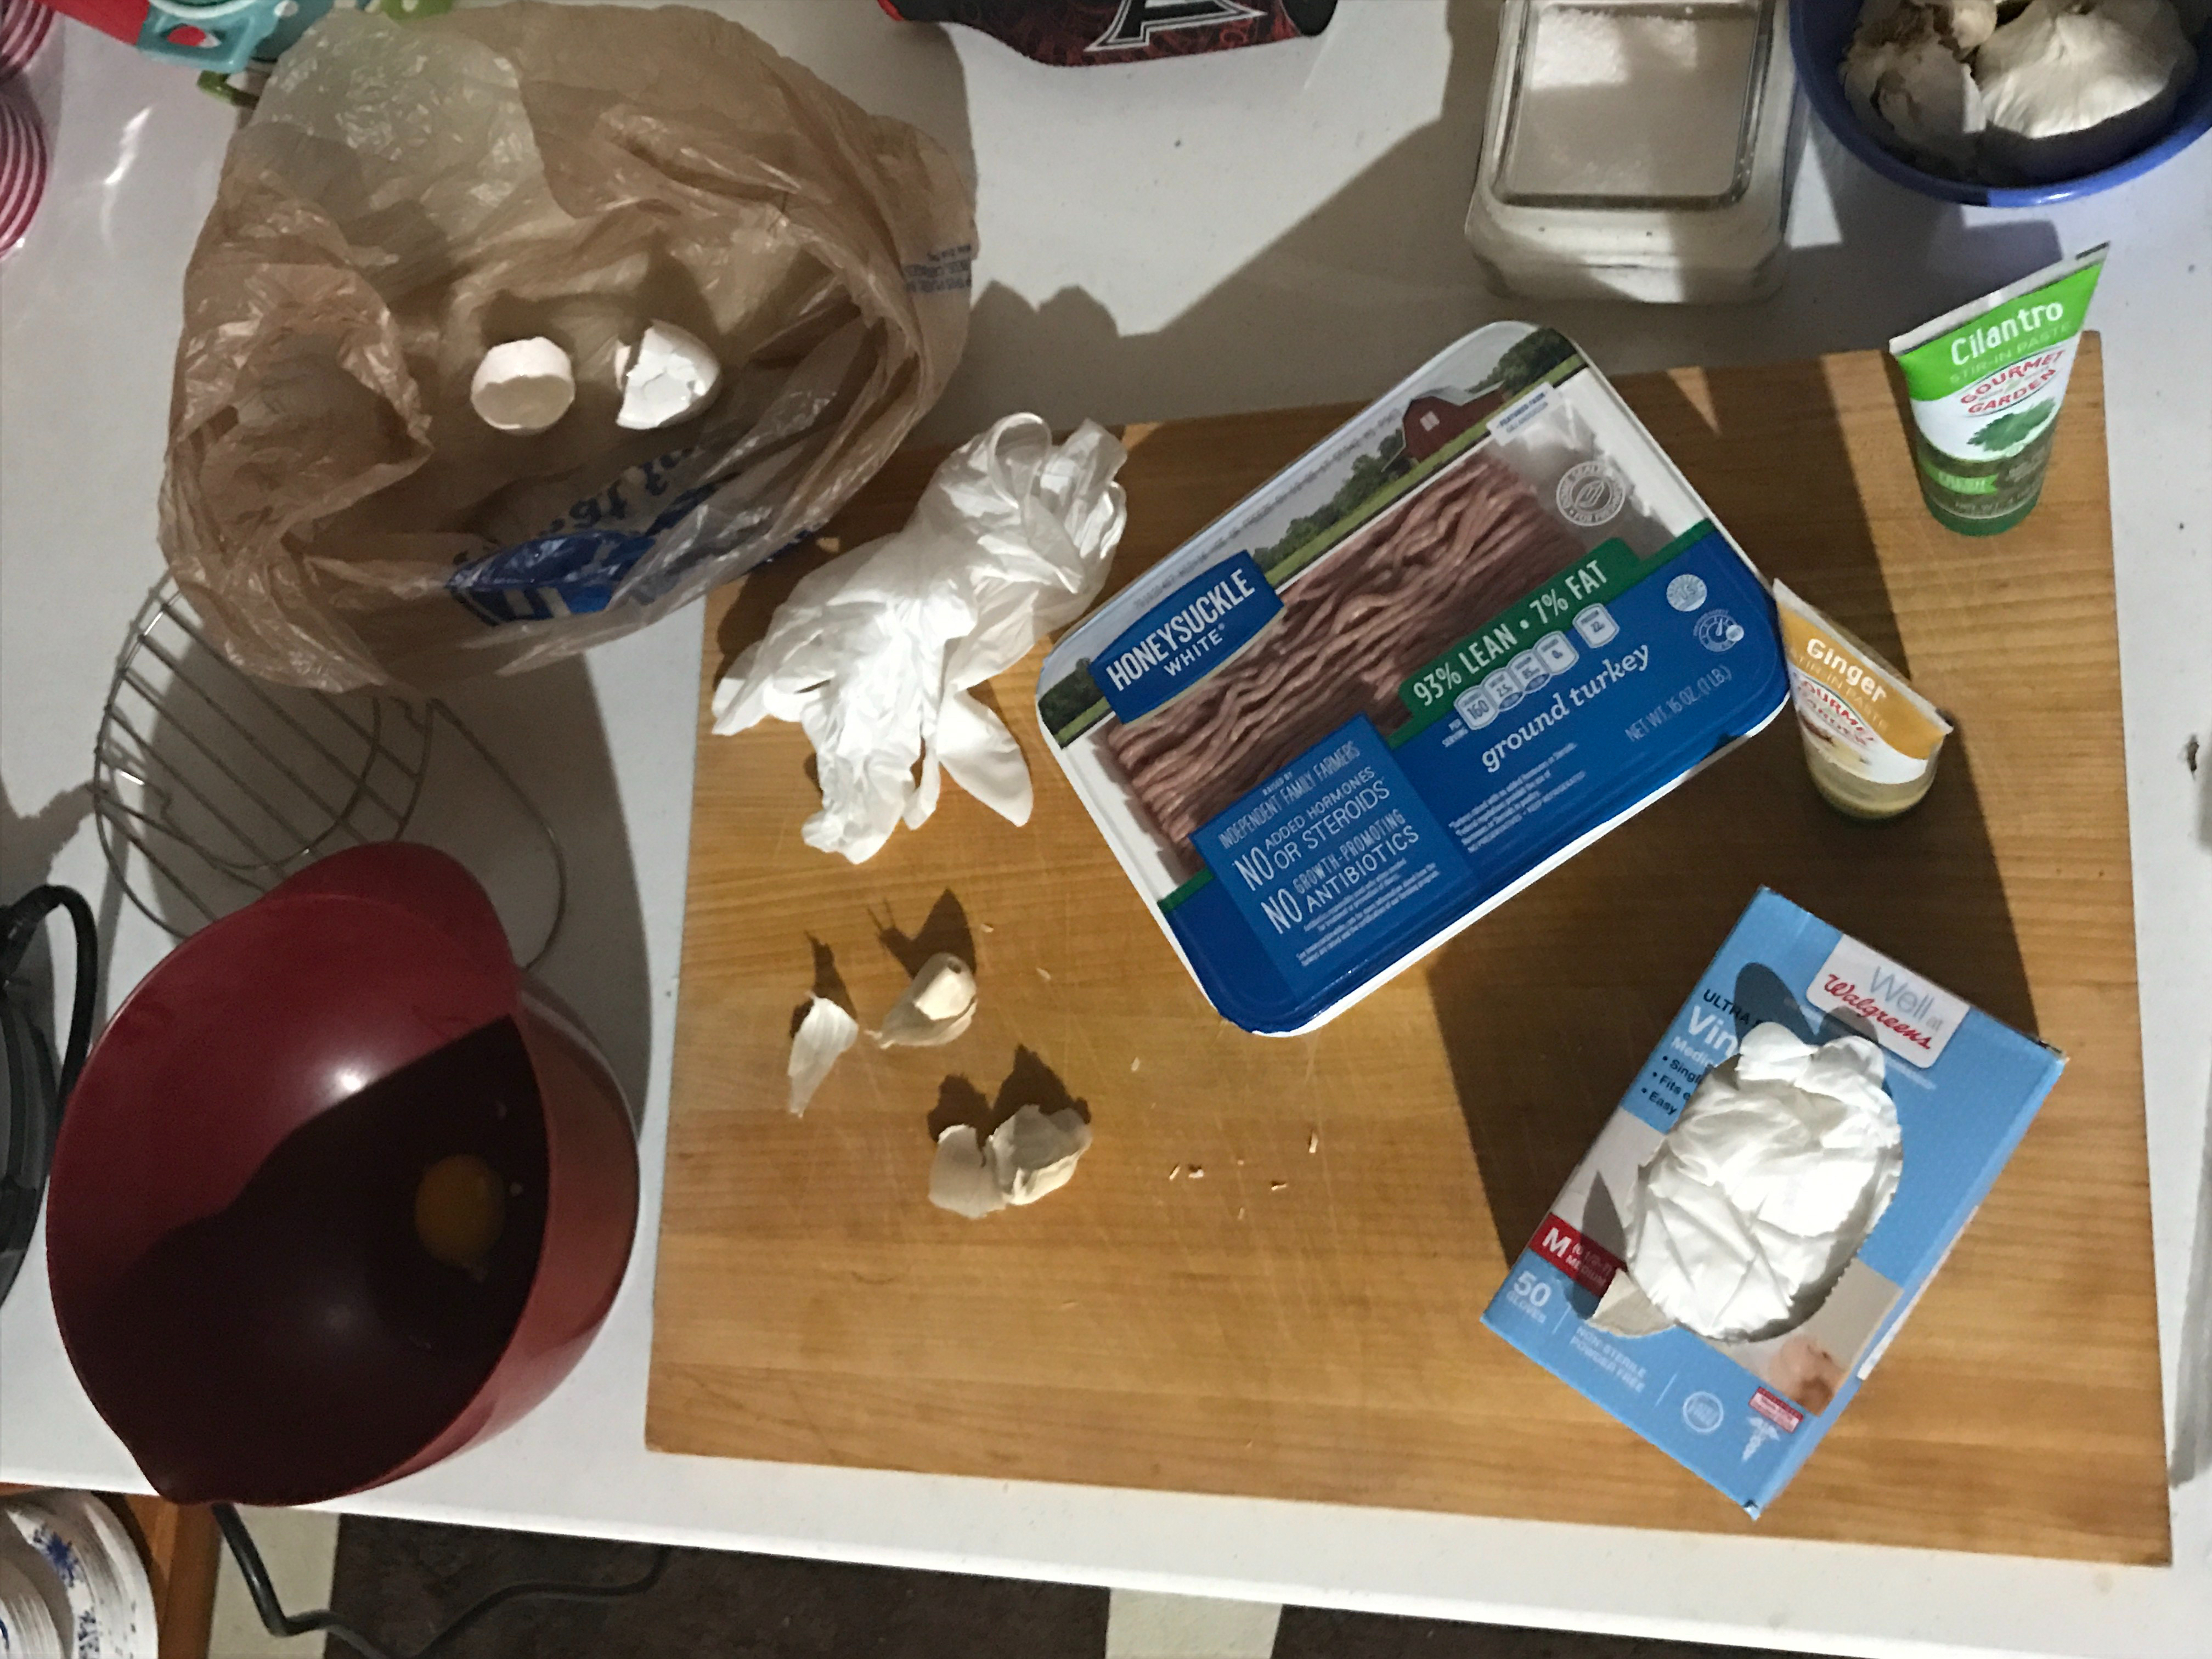


 Friday came and, much like the last few days, it was tough to see what all they did. I have a feeling until we start seeing cabinets and floors being installed, I won’t really notice as much as I expect to. We did notice they put down “cement board” on our floors in preparation for the tile to be installed! I’m really excited to see that part. You can only imagine so much when you pick items out in a showroom. They also removed the plumbing from where the sink and dishwasher used to be and cut the carpet so it was straight across.


 It was such a nice weekend we went to the park for hot dogs and smores! Who’s ready for summer? I know we are…


 This is going to be my view from the kitchen. I’ll have the whole expanse of the living room before me as I cook. It will make it easier to look at things when Jeff shouts, “Honey! Look at this!” from the couch.
 This is how the kitchen will appear if you’ve viewing it from the front door. An island is going to be right about where the black part stops in the lower part of the picture.
 Yet another view of the kitchen looking from the fireplace.
 I keep a little plastic tub downstairs and while I’m making dinner I throw the dirty utensils and cooking things in the tub. Then when we’re done with dinner, I take the bin upstairs and wash the dishes. It keeps the basement tidy and gives me a place to put my dirty stuff so it’s out of the way while I finish dinner.
 So far I am very pleased with the renovation process. Granted, it’s only two days in, but as far as the cooking goes, I can’t complain! It’s really not too much different than cooking upstairs. Except I have no stove and I have to wash everything by hand. But a month of “sacrifice” will be worth a lifetime of cooking memories. I just cannot wait!


 I have been loving Better Than Bouillon lately! I never even knew about this product, but it’s awesome! It’s basically broth that has been condensed all the way down to a paste. When you’re ready to use it, you just mix it with boiling water. I was lazy and used room temperature water, which worked just fine. Telling you, people, you make due with what you have! And, bonus, it comes in lots of flavors and is a fraction of the broth in the box! I also happen to love those broth boxes too, but seriously this stuff is awesome.

 No, this is nowhere near all of it.
 I had tons of plastic bins from over the years (I told you I liked containers!), so I organized things into bins where I could. Jake loves thing organized (unless it’s his toys), so he really enjoyed helping!
  Once we had everything pulled out of the pantry and organized, it was time to haul the stuff downstairs to set up. I have a bunch of these shelving units in the basement with bins of things on them, so I was able to clear off and stack the bins and move one of the shelves over to my work area to act as a pantry.
 I have had “overstock” (yep…you can tell I work retail) in my basement for years (on the lefthand shelves). When I see a good deal on something, I stock up. So adding another shelving unit of food just seemed the right thing to do!

 I’m pretty proud of my little “kitchen”. I can’t really have the fridge items downstairs with me, which is the only thing I’m really not looking forward to, but I’m pretty sure I have everything else I need!
 I love my toaster oven. It’s good size and I can cook a small pan of lasagna or stuff shells in it. I’m pretty sure I won’t have to use it nearly as much as I would have before I got my Instant Pot though! It would be pictured, but I’m making Mississippi Pot Roast for dinner, so it’s up in the kitchen currently.
 My “workspace” has my most used items within arms reach. My olive oil, salt, pepper, garlic, and DLM spice rub is right there as well as some small mixing bowls and measuring cups.
 The rest of my utensils and important accoutrement are in the stacked drawers that sit on the table. Ignore the labels…these were from my very brief days of scrapbooking. I was too lazy to remove them. The bottom drawer has various baking things in it. The next two drawers are filled with my spices…I told you I was addicted! The second to top drawer has measuring cups and spoons, whisks, spatulas, mixing spoons, etc in it. And finally all the tall bottles are at the top. You never know. I might actually like this set up! I won’t have to bustle around the kitchen quite as much!
 Of course I couldn’t forget my coffee maker! I’m not really looking forward to going downstairs for my morning cup of joe, but we all must make sacrifices. Maybe it will get me in the habit of exercising first thing in the morning! (Wow…I sound lazy!)
 Under the table, I have some larger mixing bowls and other kitchen items on the left, my big bin of baking things in the middle, and all the plastic wrap, bags, etc on the right.
 At this point, I had spent a good few hours in the kitchen and basement. Jake was tired of helping so he decided to drive his truck around and pout, waiting for me to play with him. I should have sent him to his buddy’s house so he wasn’t so bored!
 This is the main space I’m in when I’m in the kitchen. I spend most of my time cutting and prepping my food on both of these counters. One thing I love about our house is the tall ceilings. Our new kitchen is going to have cabinets that go all the way up to the crown molding above our fridge.
 This is the opposite side of our kitchen. You can’t tell in this picture, but the space between these counters and the previous counters is too great. It was too small for an island and felt bigger than necessary. Our new kitchen will be straightening out the counter and removing pretty much everything thats not attached to the counter. Our upper cabinet (complete with its crooked door) and pantry will be gone and the counter will be turned into an island. I’ll be very excited to get rid of the “bar height” counter. No one could ever use it because the builders made it way too high.
 This will all be gone! So long, ugly bar stools!
 God, I hate our white cabinets and blue counters. So dang ugly! We are going to have a medium brown cabinets and grey/black counters. It’s hard for me to describe the color, but it’s very pretty. We love it. We will also have creamish colored tile on the floor and the same color subway tile as our backsplash.
 You can baaaaarely see our cabinets and counters on the left side of this picture. In the new kitchen we will be extending the cabinets by TWO pantries! The cabinets will go nearly all the way to the windows! And there’s another one of those ugly fans! Good riddance! We will also be parting with our kitchen table. Jeff got this table when he was in college so it’s a good 15 years old! It’s a nice table but won’t really go with our new “look”.
 Ugh. Vomit. I apologize to anyone who has fans like this is your house. You do you. This is not me. It took Jeff and I three hours to remove this fan and replace it with the new one, but it’s up! And I love it!
  And yes I helped in more ways than reading the instructions and handing Jeff screws.

 I couldn’t bear to part with them quite yet and i couldn’t decide which ones I was going to need next month. So my solution is to look for a box at work tonight that allows me to keep the spices together and easily reachable next month. Until then, they live here now.
 I have a soft spot for plastic containers. This is in no way a surprise to Jeff. He actually complains about this on an almost daily basis. He says I have too many, but we always have leftovers that I want to keep. I also take my lunch to work and it’s normally not something I can put in a baggie. Whatever. He likes them.


 I have this love/hate relationship with vegetables. Most of the time, if I’m being honest with myself, I hate them. At least most of them. I’m looking at you, broccoli. I blame my mom and her weekly chicken broccoli casserole for that one. 😉 Love you, mom!
 Crispy Parmesan Zucchini

 This weekend was 60º on Saturday so we went hiking at our local arboretum! We had been to another park once last year and he only lasted about ¼ mile before asking to be carried. He’s 40 pounds now…I can carry him but only for short distances so that’s not really an option. Part of me was hesitant to take him with me, but I figured I can’t not try, right?
 At our arboretum there are three paths: the
  A couple times we came across a muddy section and he would start to whine about getting dirty. I would say “You’re a boy! You’re supposed to get dirty!” Then I started thinking about it…why is it OK for boys to get dirty, but not girls? So I changed it to “You’re a kid! You’re supposed to get dirty!” Once I had to pick him up and carry him over a particularly deep muddy section, but other than that he was a trooper! He even started splashing in the “muddy puddles” (thank you, Peppa) towards the end.
 We got to the end of the red path and I asked if he wanted to go back to the car or keep hiking. He wanted to keep hiking! So I asked which path…if he wanted to go on the red one again or try another one…and he picked the blue path. I kept asking if he was sure and double checking that he wasn’t tired, but he was a trooper and insisted he was up for it.


 I think we took a wrong turn eventually (this path isn’t as clearly marked) because we ended up only walking about 1.7 miles including the walk to and from the parking lot, but that’s OK. I was still proud of my little buddy for completing it!
 The best part? He keeps asking when we can go hiking again! I can’t wait to check out some other parks near us…I hear there’s great hiking all over Ohio!